So here I am - getting very fat, but at last on maternity leave! I have had a bit of a tiring few weeks of work, doing a few more hours than I was used to, and really struggling to keep on top of my life - but am pleased to be at home again now, and although Rose and I are not really doing any blog-worthy activities (our favourite pastimes at the moment are making 'just add an egg' cakes and 'shout singing' to Frozen!) we are enjoying this new pace of life and the new routine the autumn brings (I am sure she agrees!)
After Rose has gone to sleep though, I have really re-discovered my crochet hook and it is proving to be the perfect activity to relax with. I am mostly making woodland creatures. It's nice to make some things just for fun. And I like the faces and taking pictures of them for instagram and seeing the other gems posted there. I have been trying to write up the patterns too, but this is a little bit more brain work than I can really manage at the moment, but maybe a project for the future.
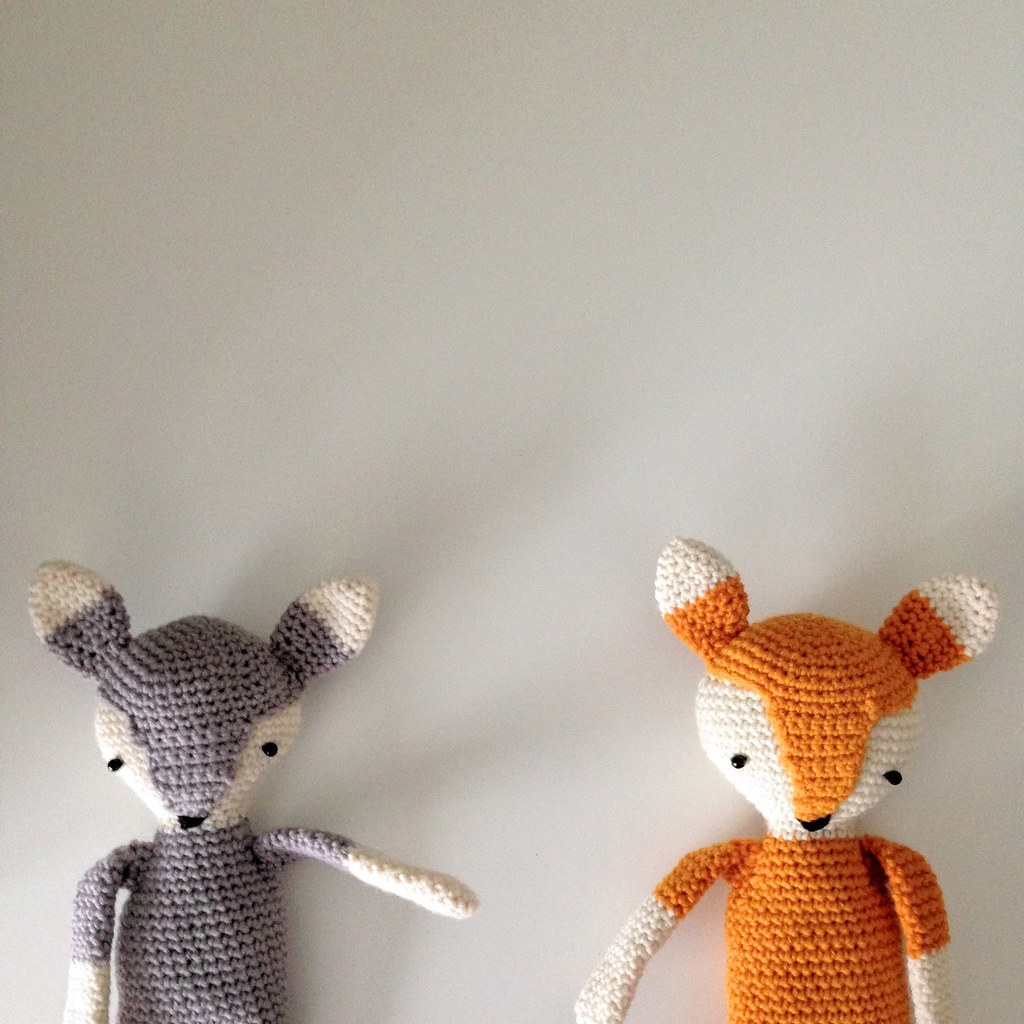
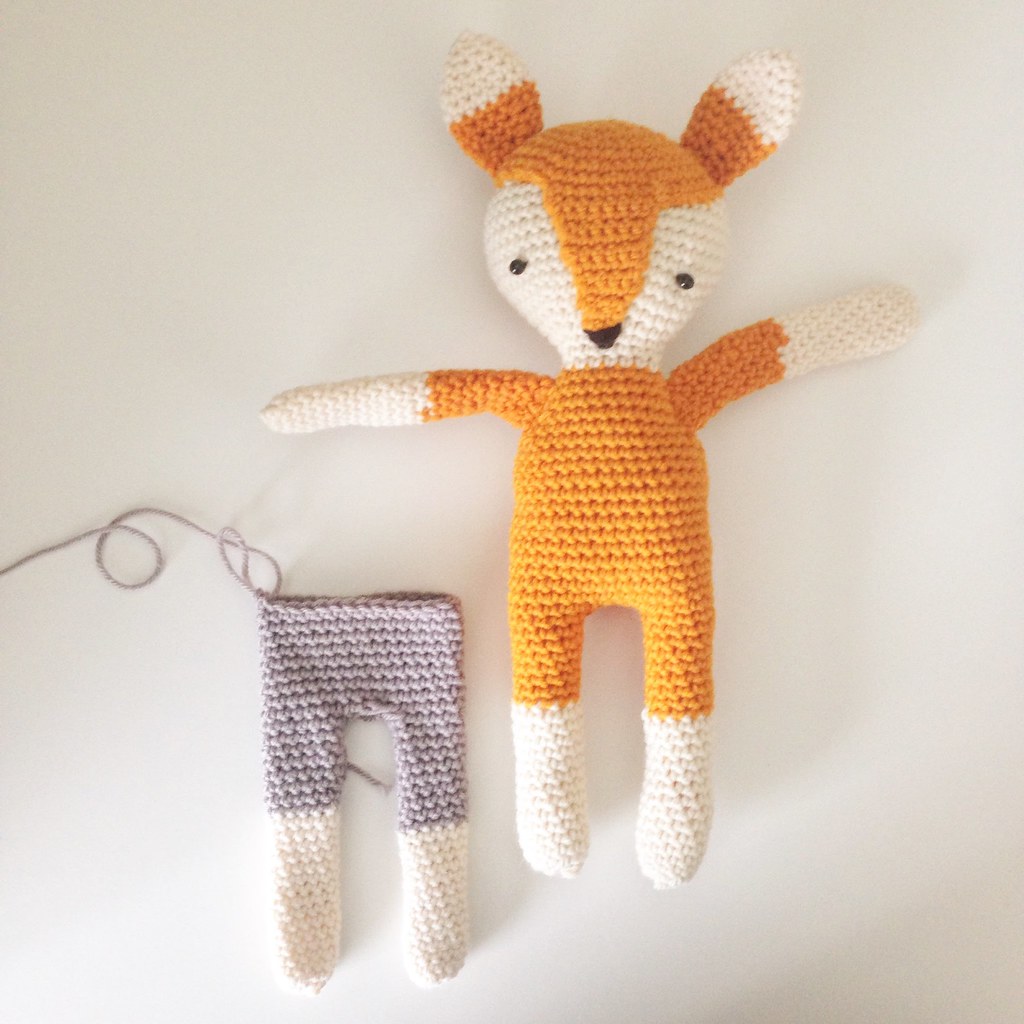
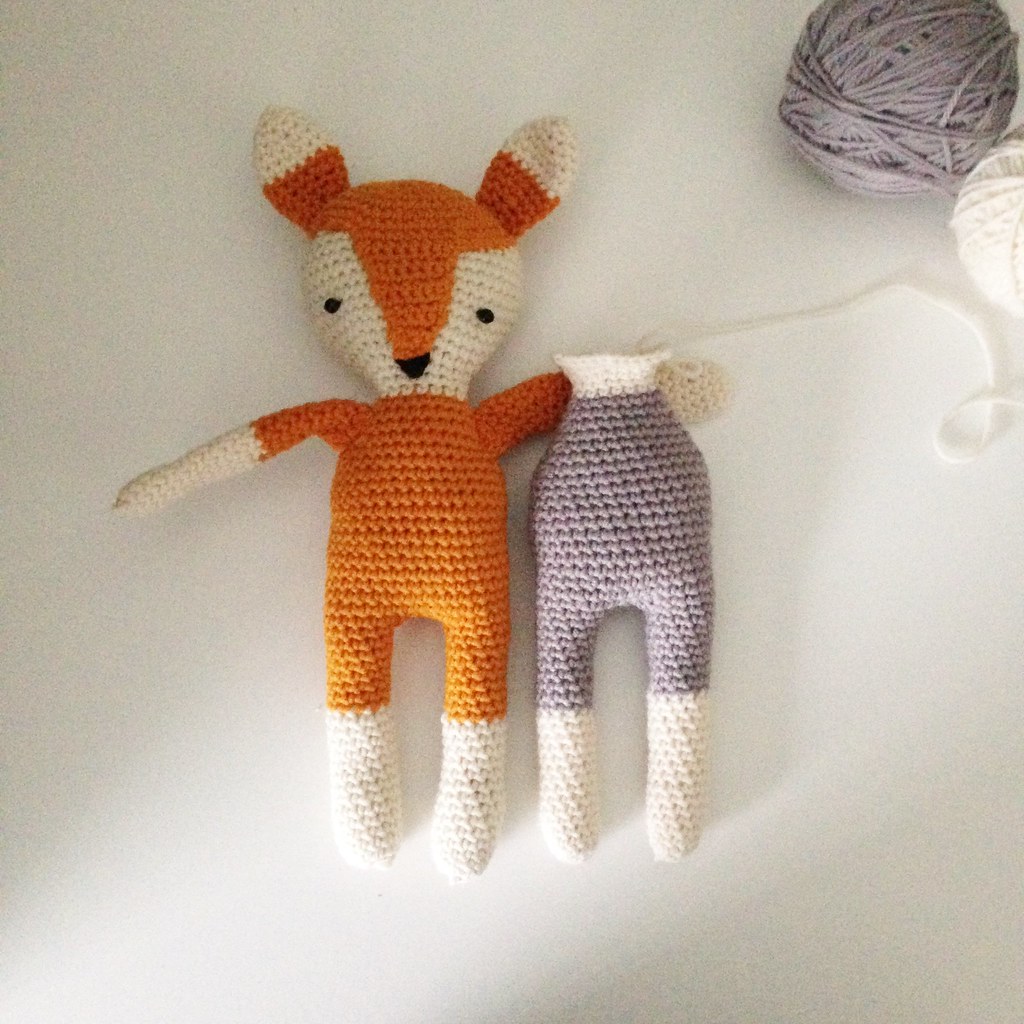
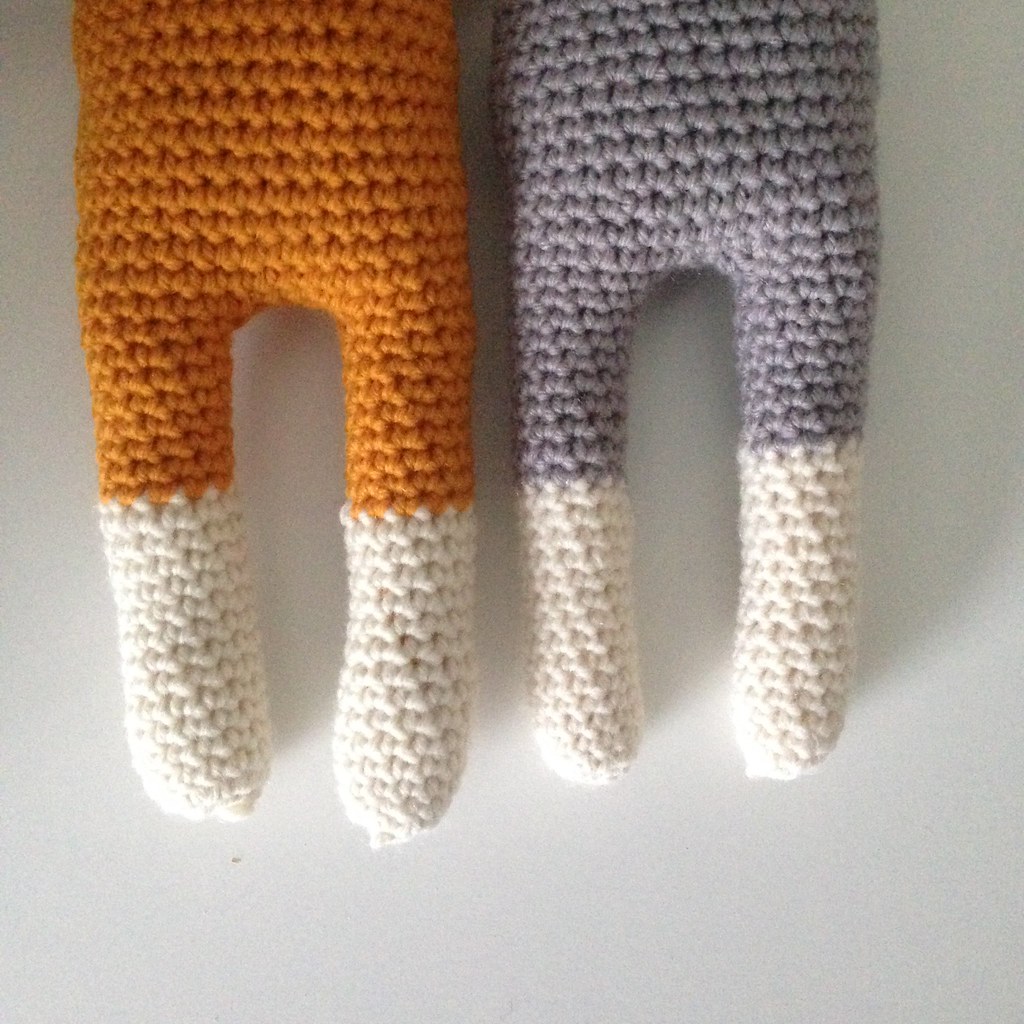
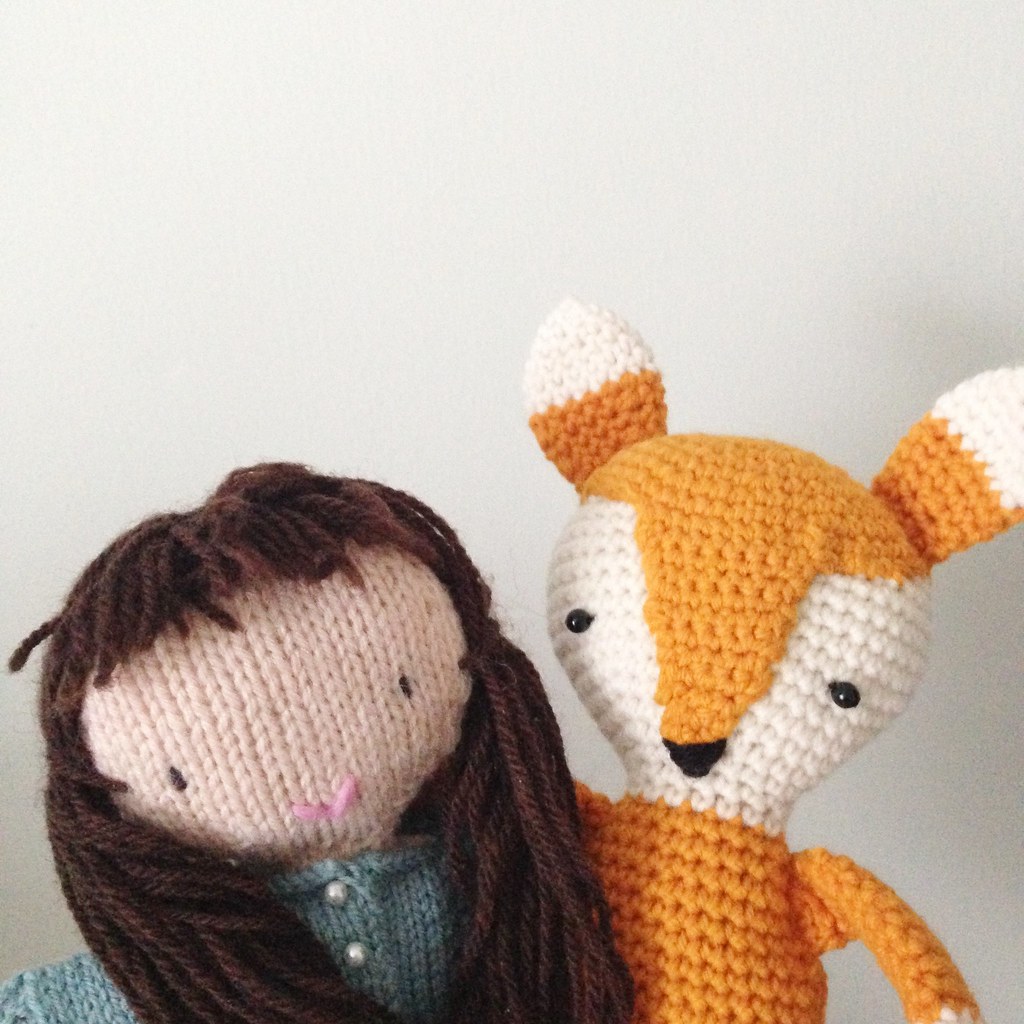
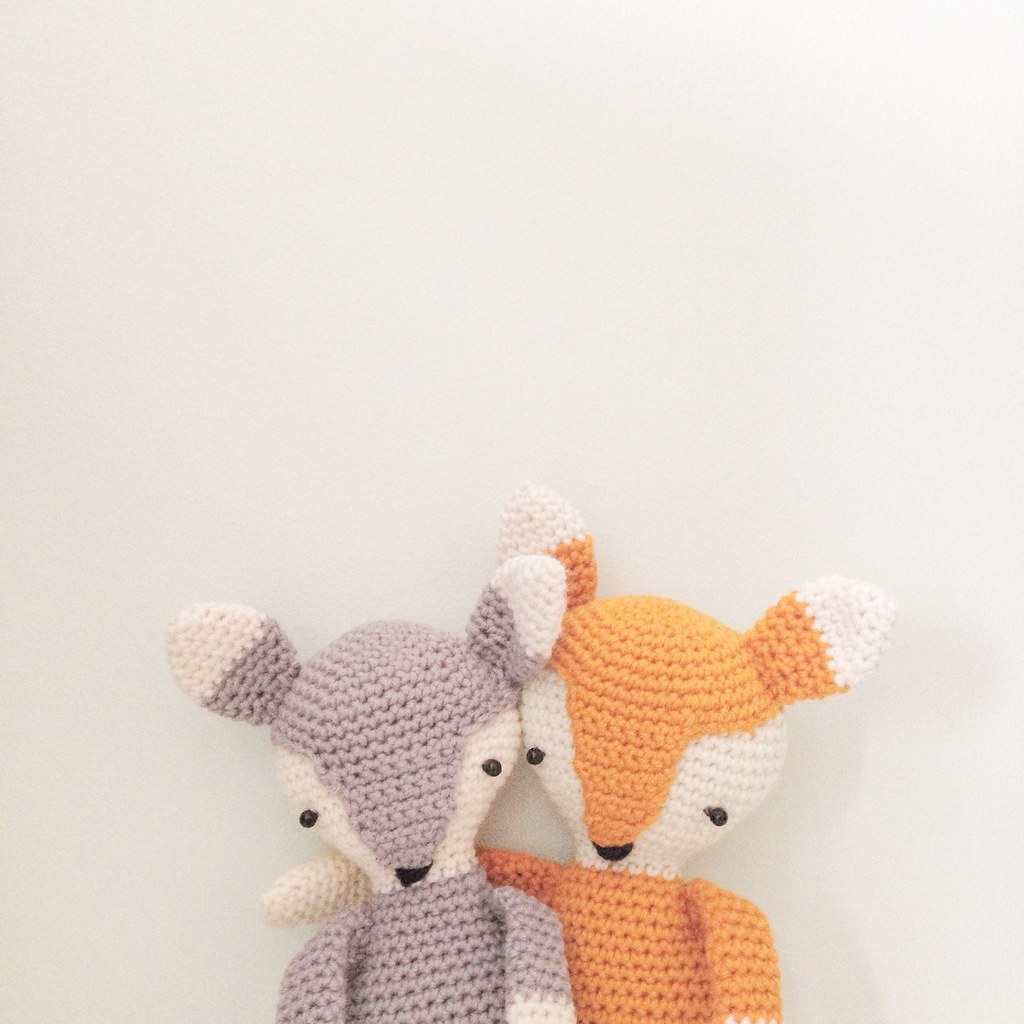
Here are some pictures of some foxes - Felix and Sylvia... little friends...
Happy woolly faces!
Sunday, 16 October 2016
Friday, 27 May 2016
Little Red Cardigan
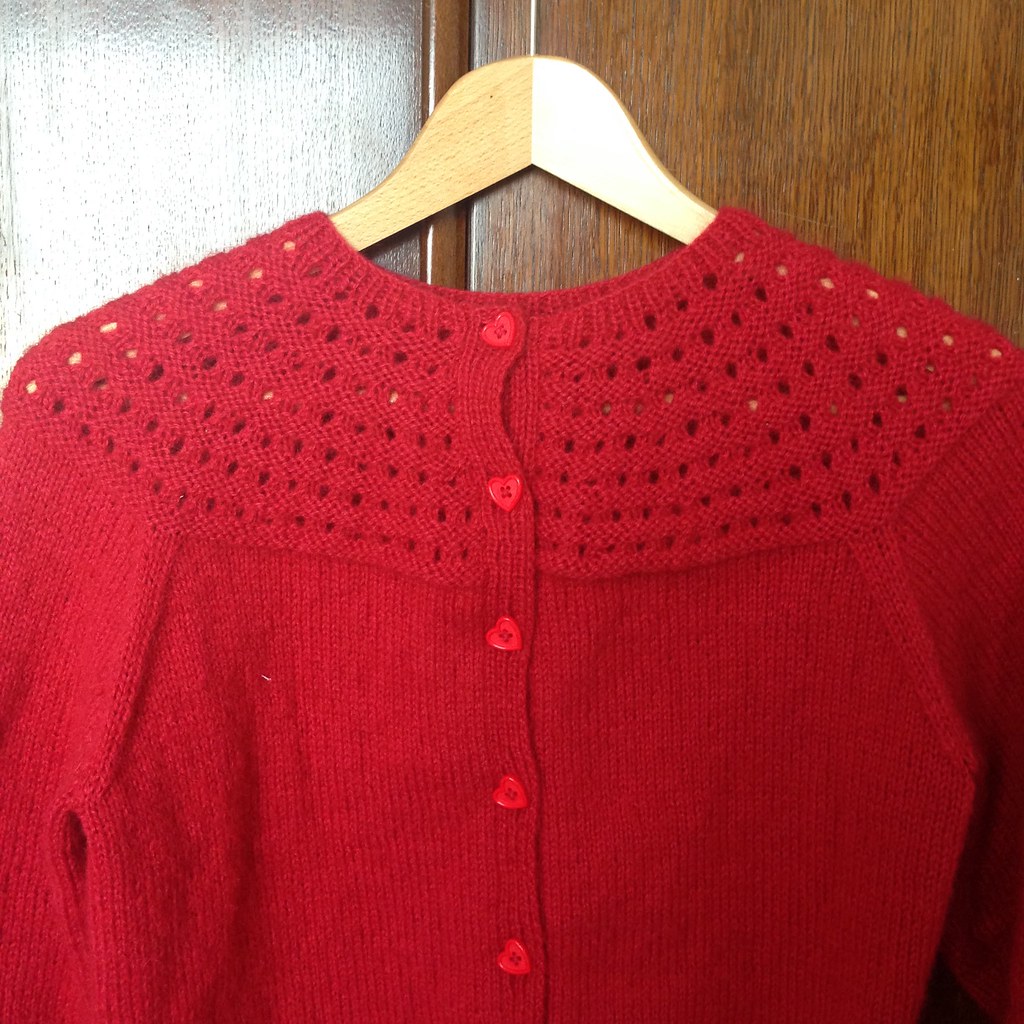
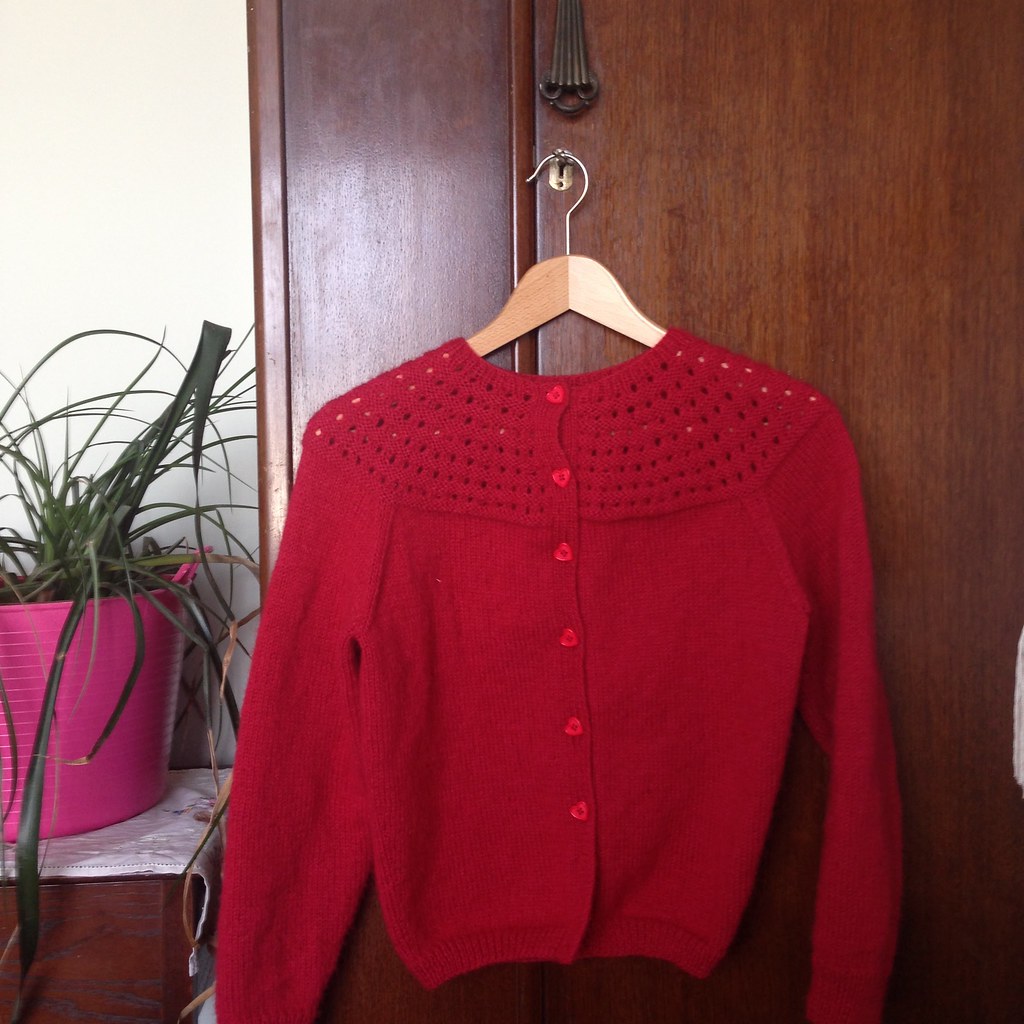
I am feeling very happy at the end of this long weekend as have finally finished this work in progress knitting project - my first cardigan in a really really long time! Little red gem. I got the wool for Christmas when Rose was six weeks old, and now she's two and a half! But I had a good incentive and am really pleased with the end result!
I used my trusty yoke cardigan pattern as tried and tested previously here, and here, and here. Debbie has also made one! I love this one so much, it's just such a great pattern, a good fit for me, and economical with wool and not very much sewing up at the end. Lots of good features.
For this one I used Adriafil Soffio Plus yarn, a nice fluffy one, colour shade 055 - red, nice and bright. I got the buttons as a gift and think they are a perfect finishing touch. This time I decided to elongate the body of my cardigan a bit by adding a few rows between increase rows. It worked out nicely. The original pattern can be found in this book if you like the look of it. There are lots of projects in there inspired by different decades, but I admit this is the only pattern I've tried. But a lot of good use it's got!
And I think my next big knit is actually going to be the same cardigan again. I got some more of the rowan colourspun wool I used to make this version and I think I am just going to remake it exactly the same! It is my absolute best cardigan- I could wear it everyday (instead I just wear it most days!) I think I will really enjoy making it, the wool is so luxurious and I love the colours, and hopefully can finish before the end of the year to complete my new year's resolution (and bolster my winter wardrobe)
Apart from knitting we have really been enjoying the better weather recently. Rose just loves to be by the sea and throwing stones and paddling. And I am enjoying this interest of hers too. I hope the sun is shining for you too.
Thursday, 10 March 2016
woven wonder
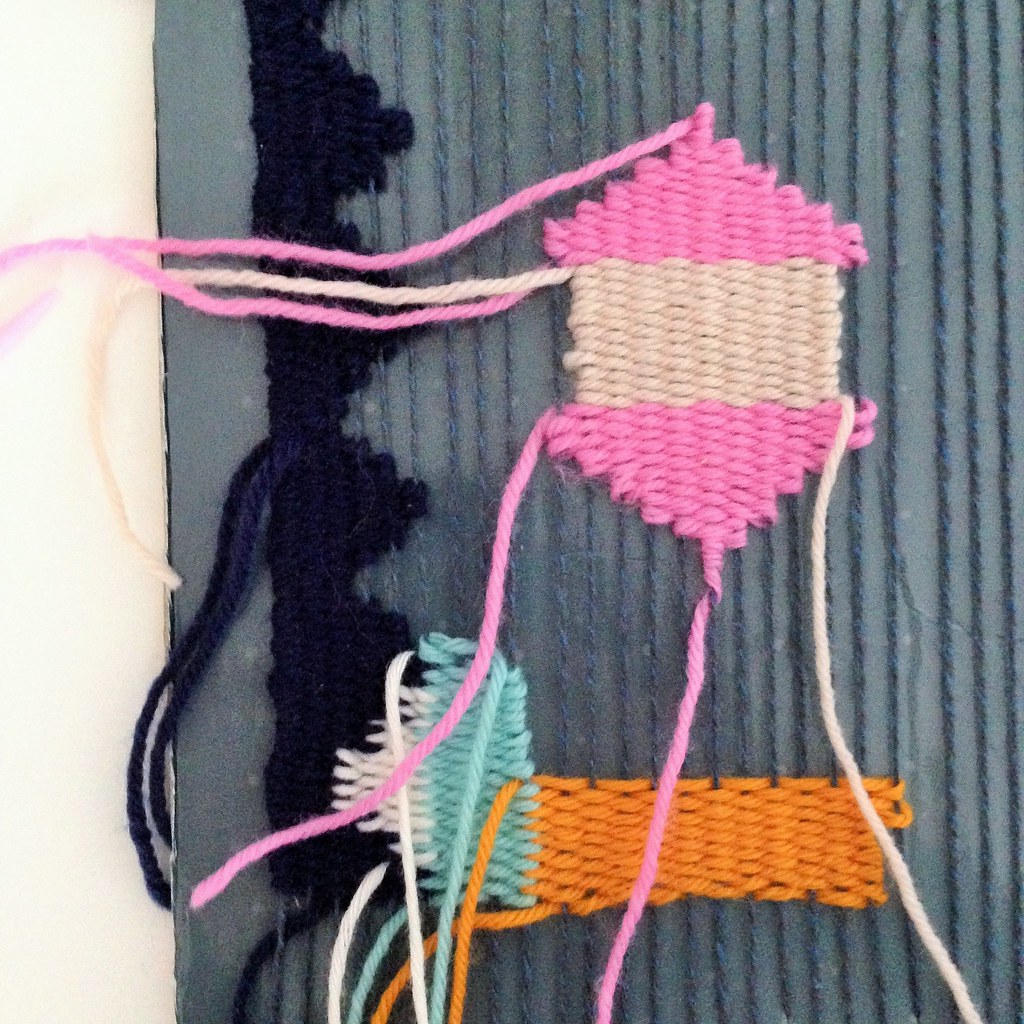
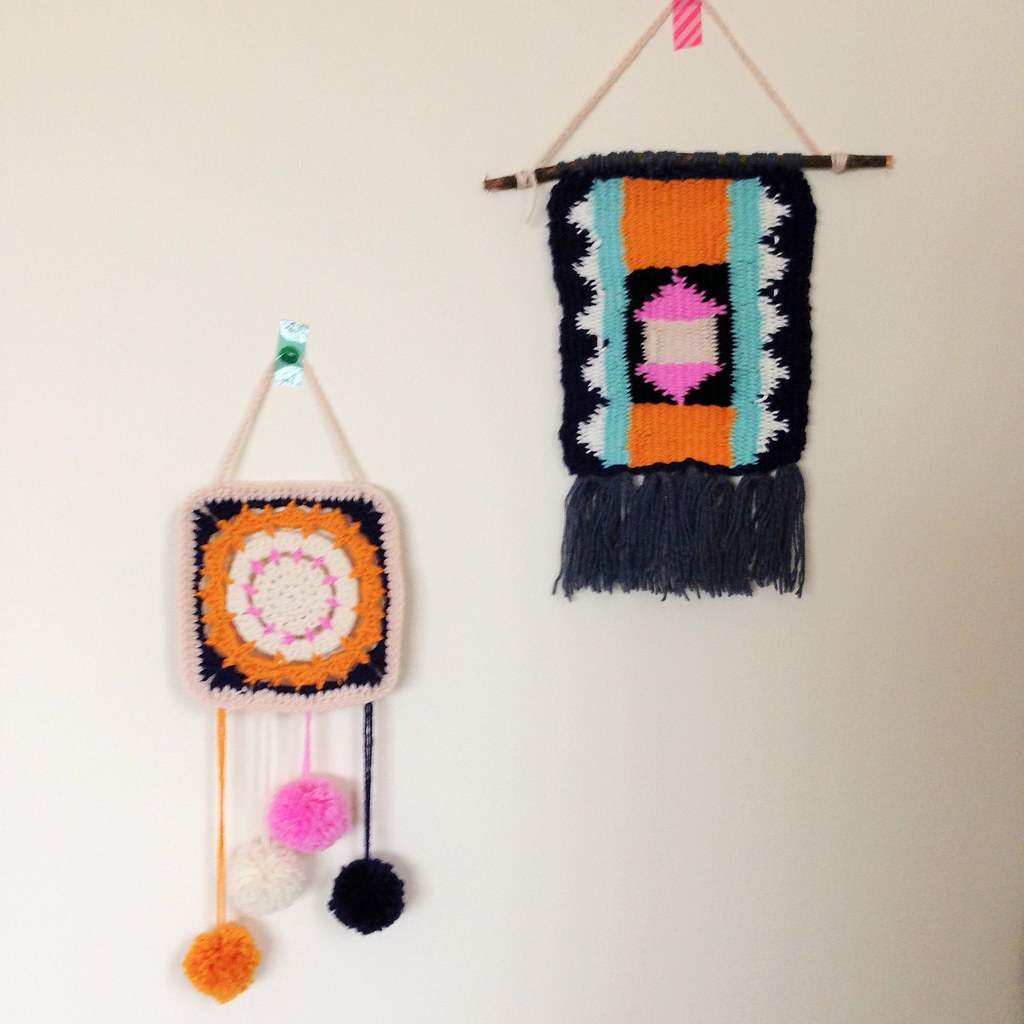
During my big tidy up, I found a few little things that sparked joy that I put up on our wall and they are starting to look really nice. In our sitting room corner my crochet wall hanging hangs alone still, but I was not feeling very inspired to do any crochet and I decided this was the time to have a go at some weaving! I have seen so many of these amazing hangings, and love them so much but it felt like a bit of a leap to have a go myself.
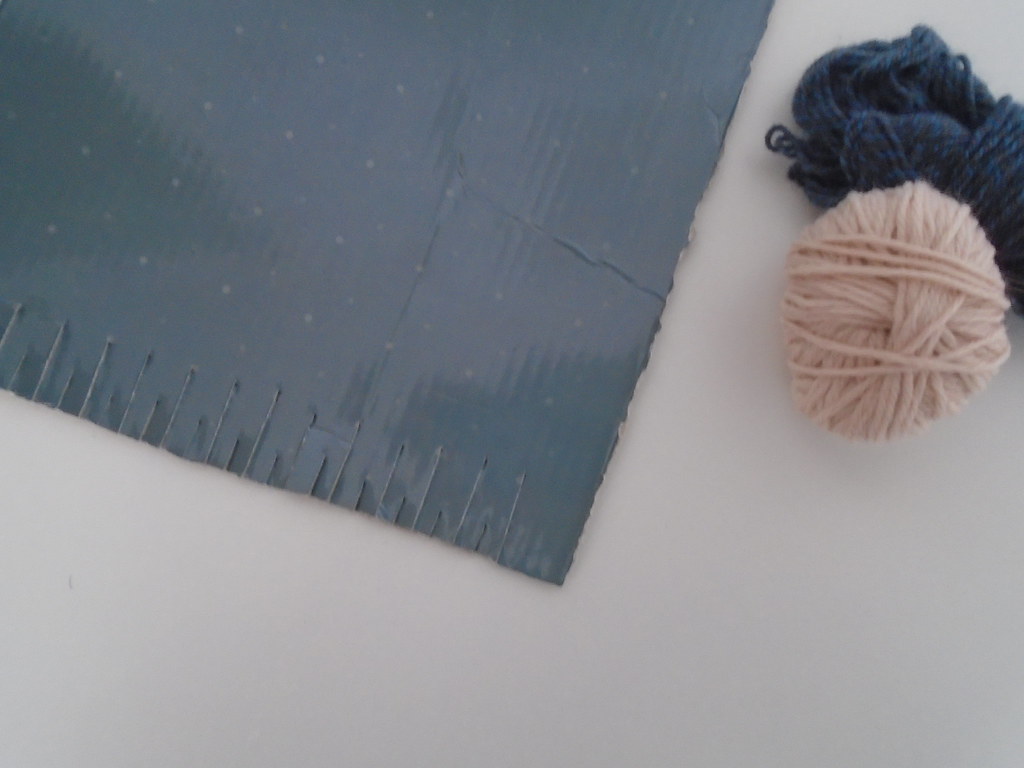
When I was little I used to make little cardboard looms to make little weavings – so decided to go down this tried and tested route again! I found a really nice stiff piece of cardboard and cut out a rectangle. Then I added some notches to each end. My box very handily had a dot design on it so I didn’t have to do any measuring but usually you would need to put mark along the edge so that your top notches and bottom notches match up.
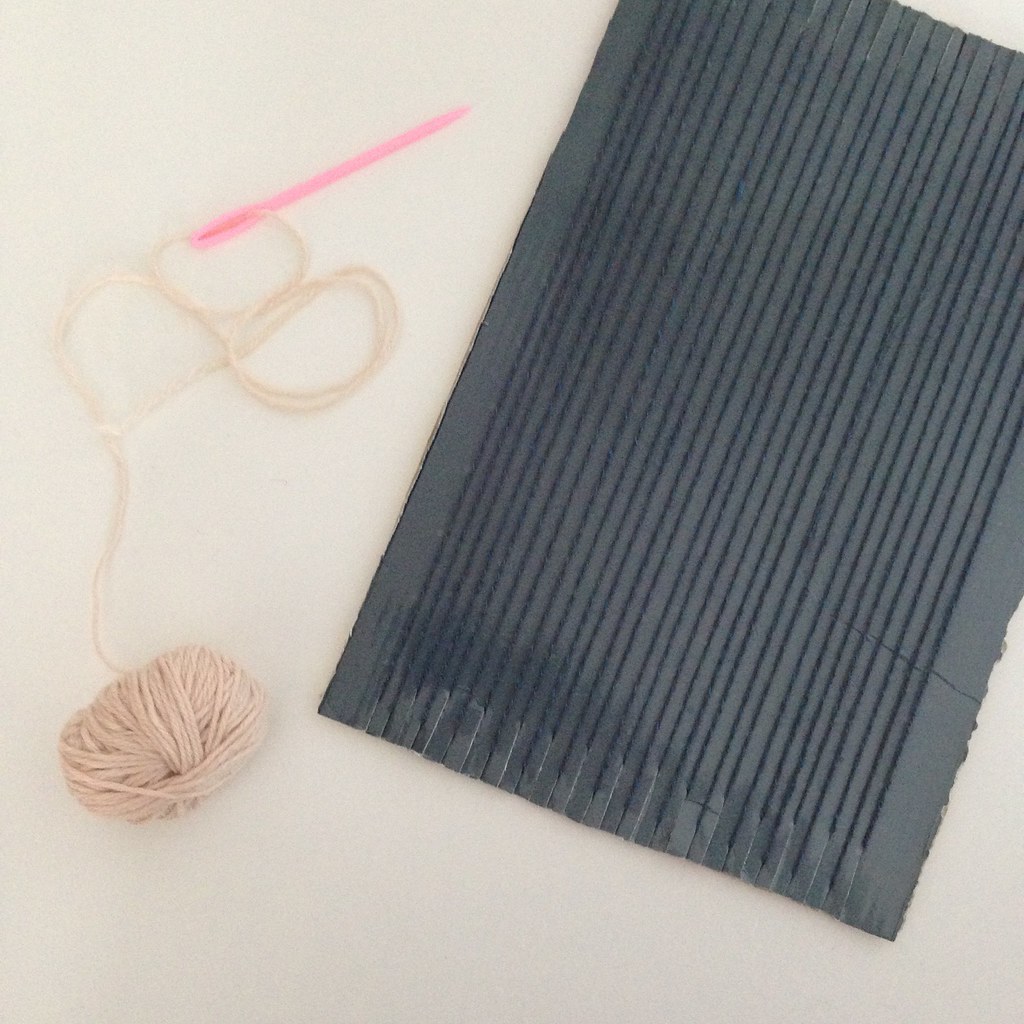
Then I wrapped my wool around into the notches to give me all of my warp threads. Lovely!
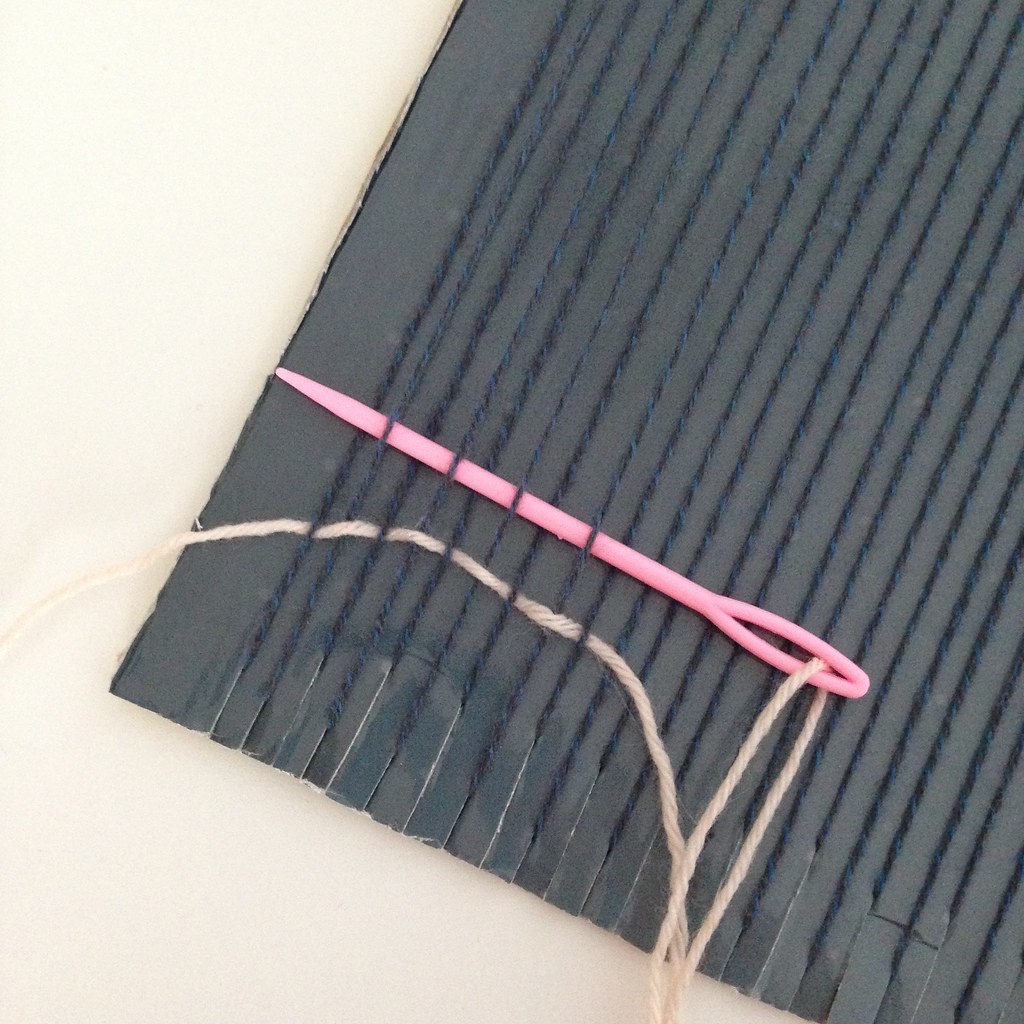
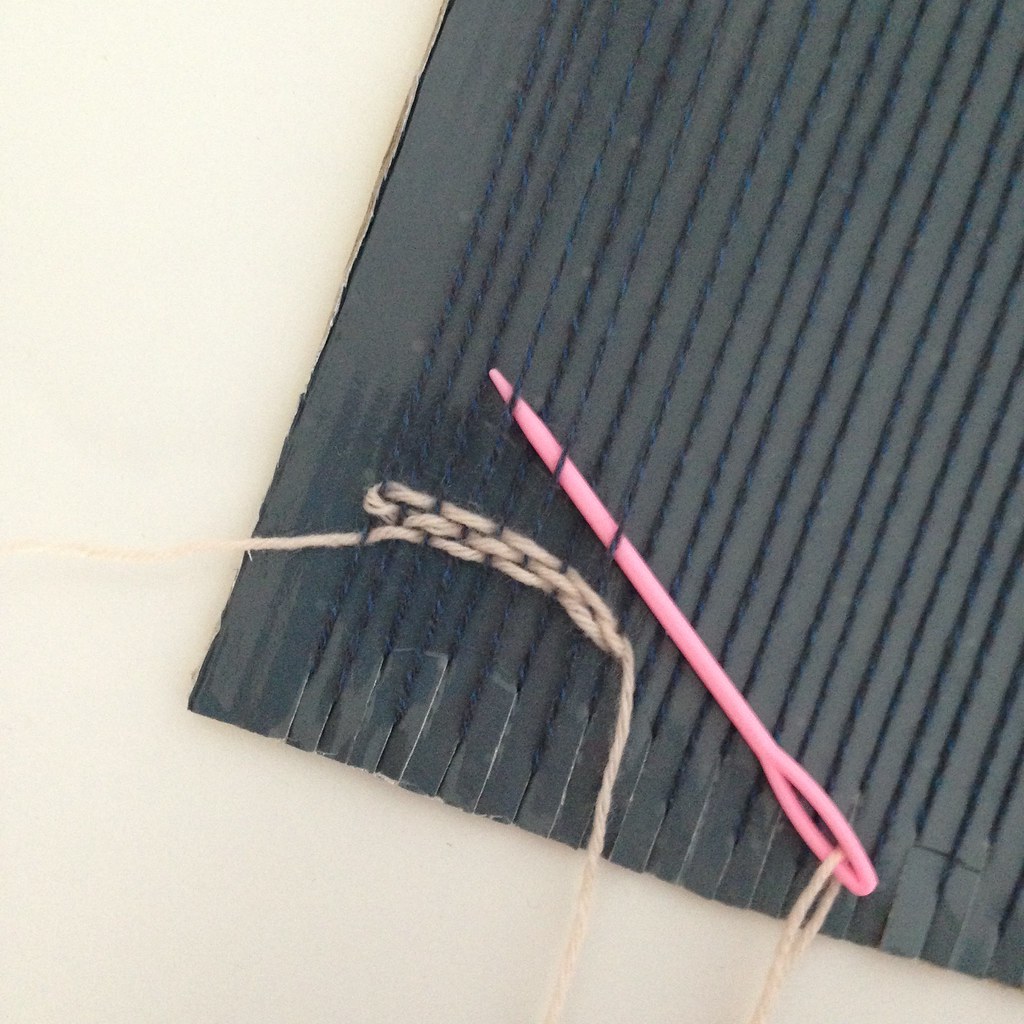
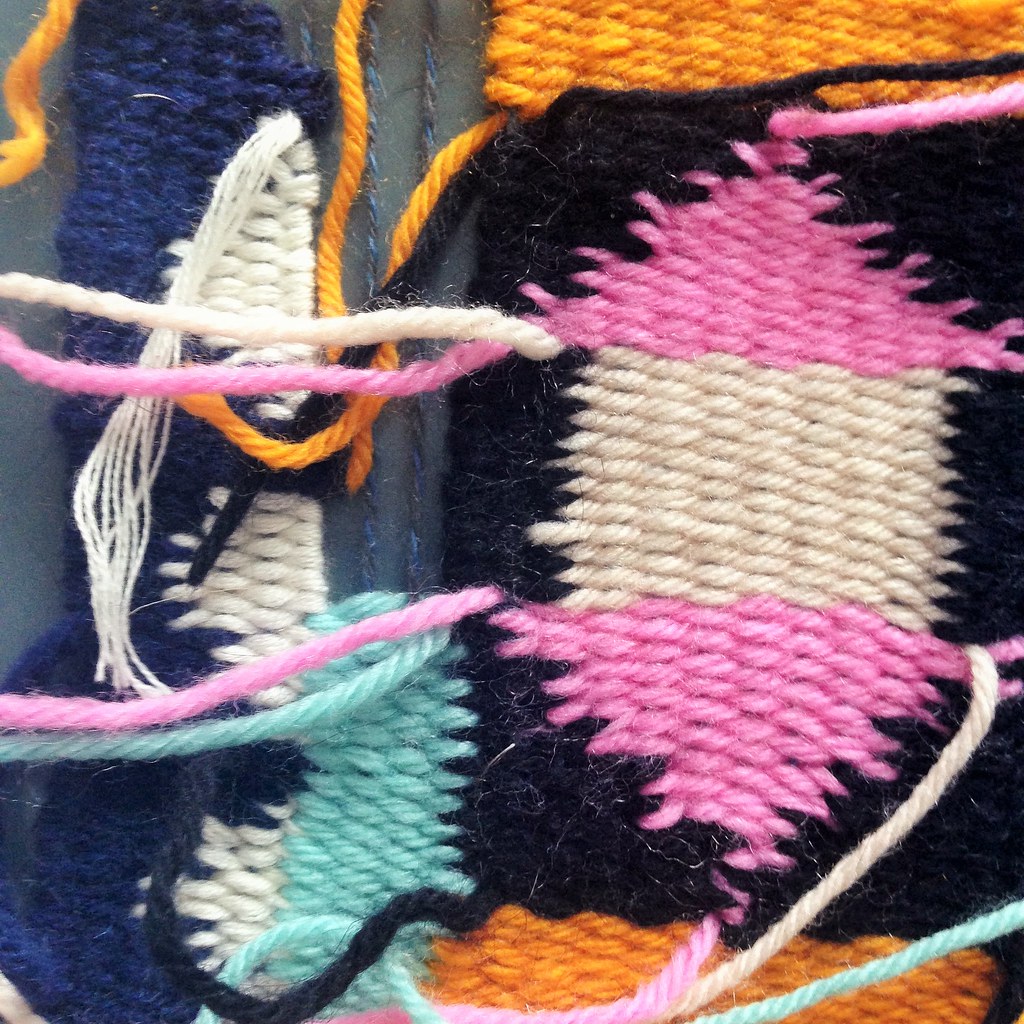
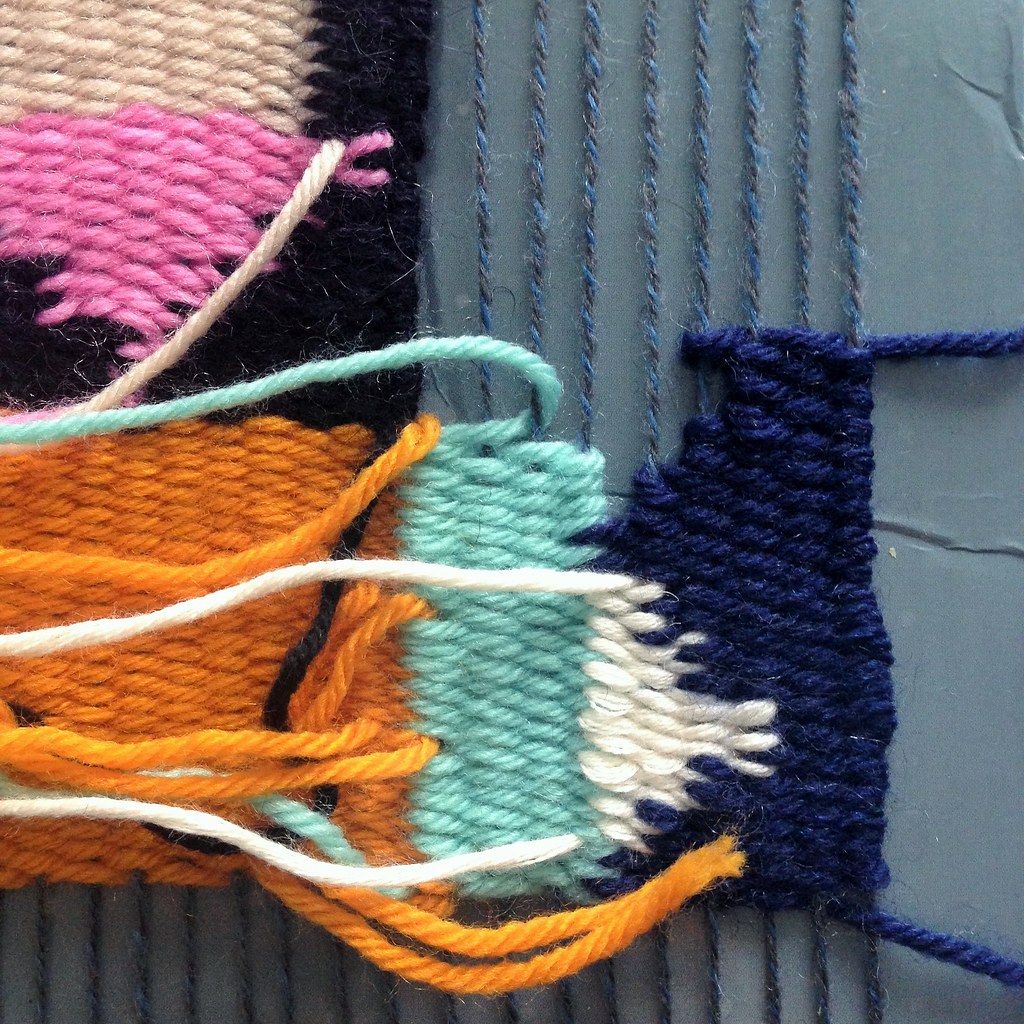
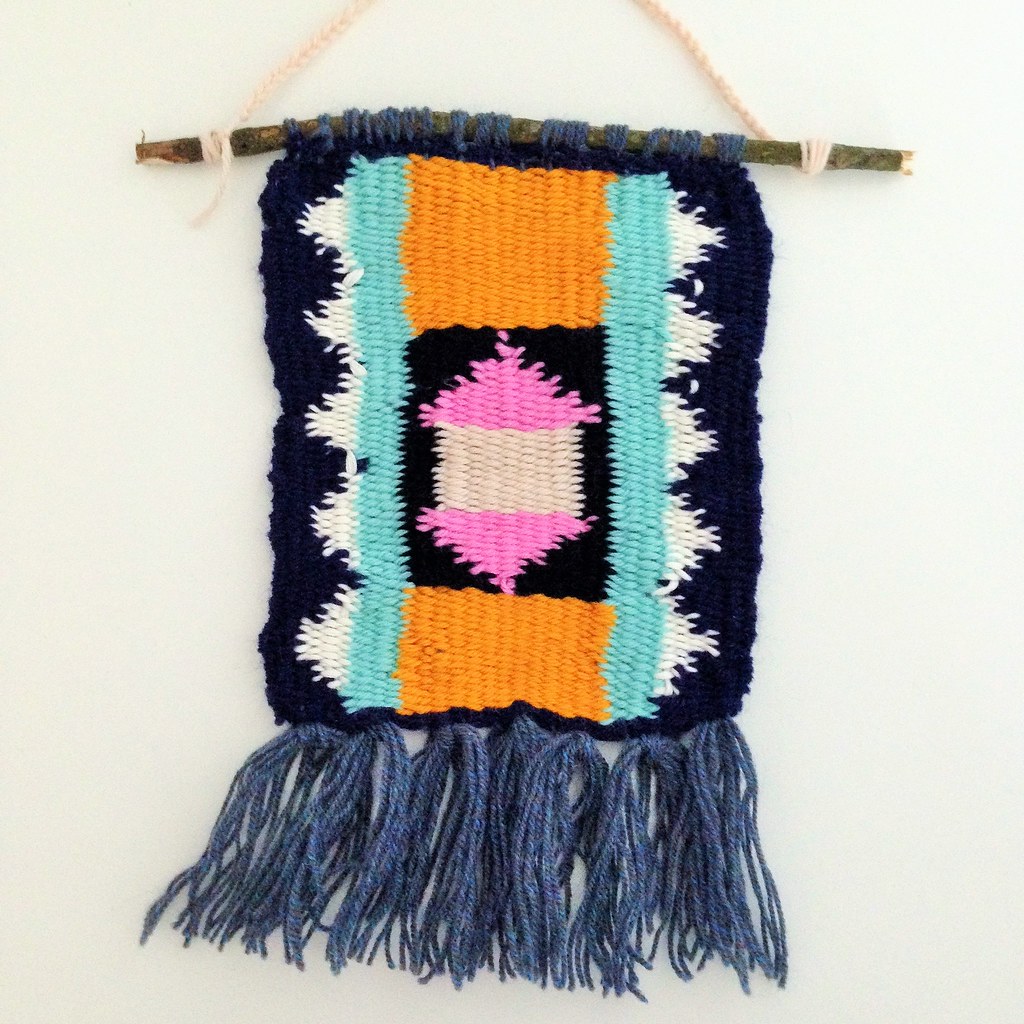
Next I started my weaving. My first plan was to keep it simple and do coloured stripes, but after doing a few rows of plain weaving I decided that I really wanted to try some of the techniques I have seen on the amazing weavings I have seen, making patterns with colours, and some textured parts. I really like the tassels! I found a wonderful online resource called the weaving loom which I recommend if you are a beginner like me - it has lots of interesting things to learn there. I had a little play around and settled into a bit of colour work. I think next time I will try some loops though.
It was quite hard to take some work in progress pictures because it looked very messy until then end when I sewed in my ends. But then it looked really really great!
I really enjoyed this little project, something new for me.
Sunday, 14 February 2016
knitting friends and knitted friends
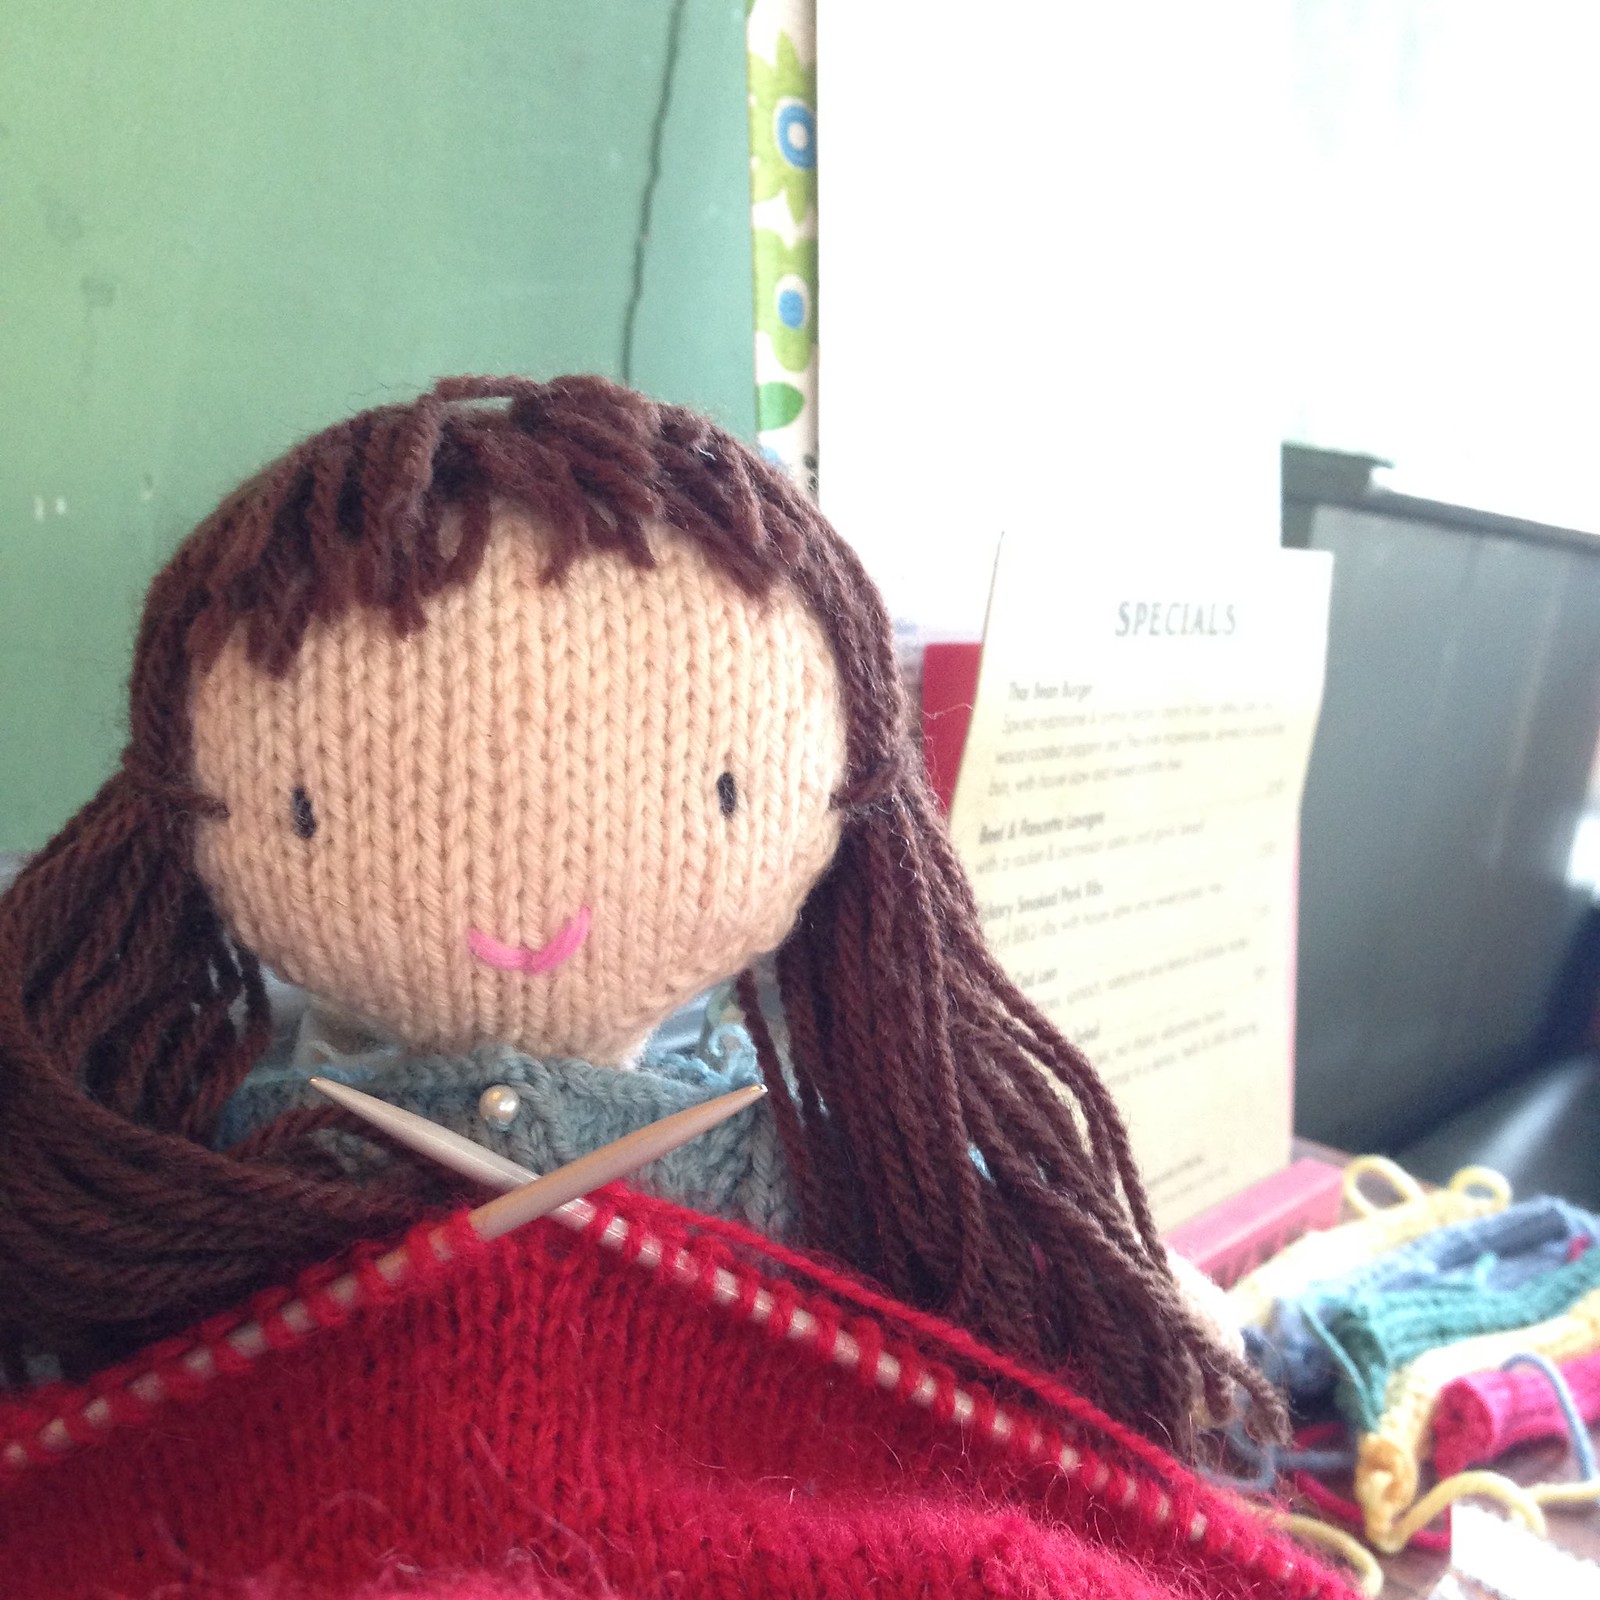
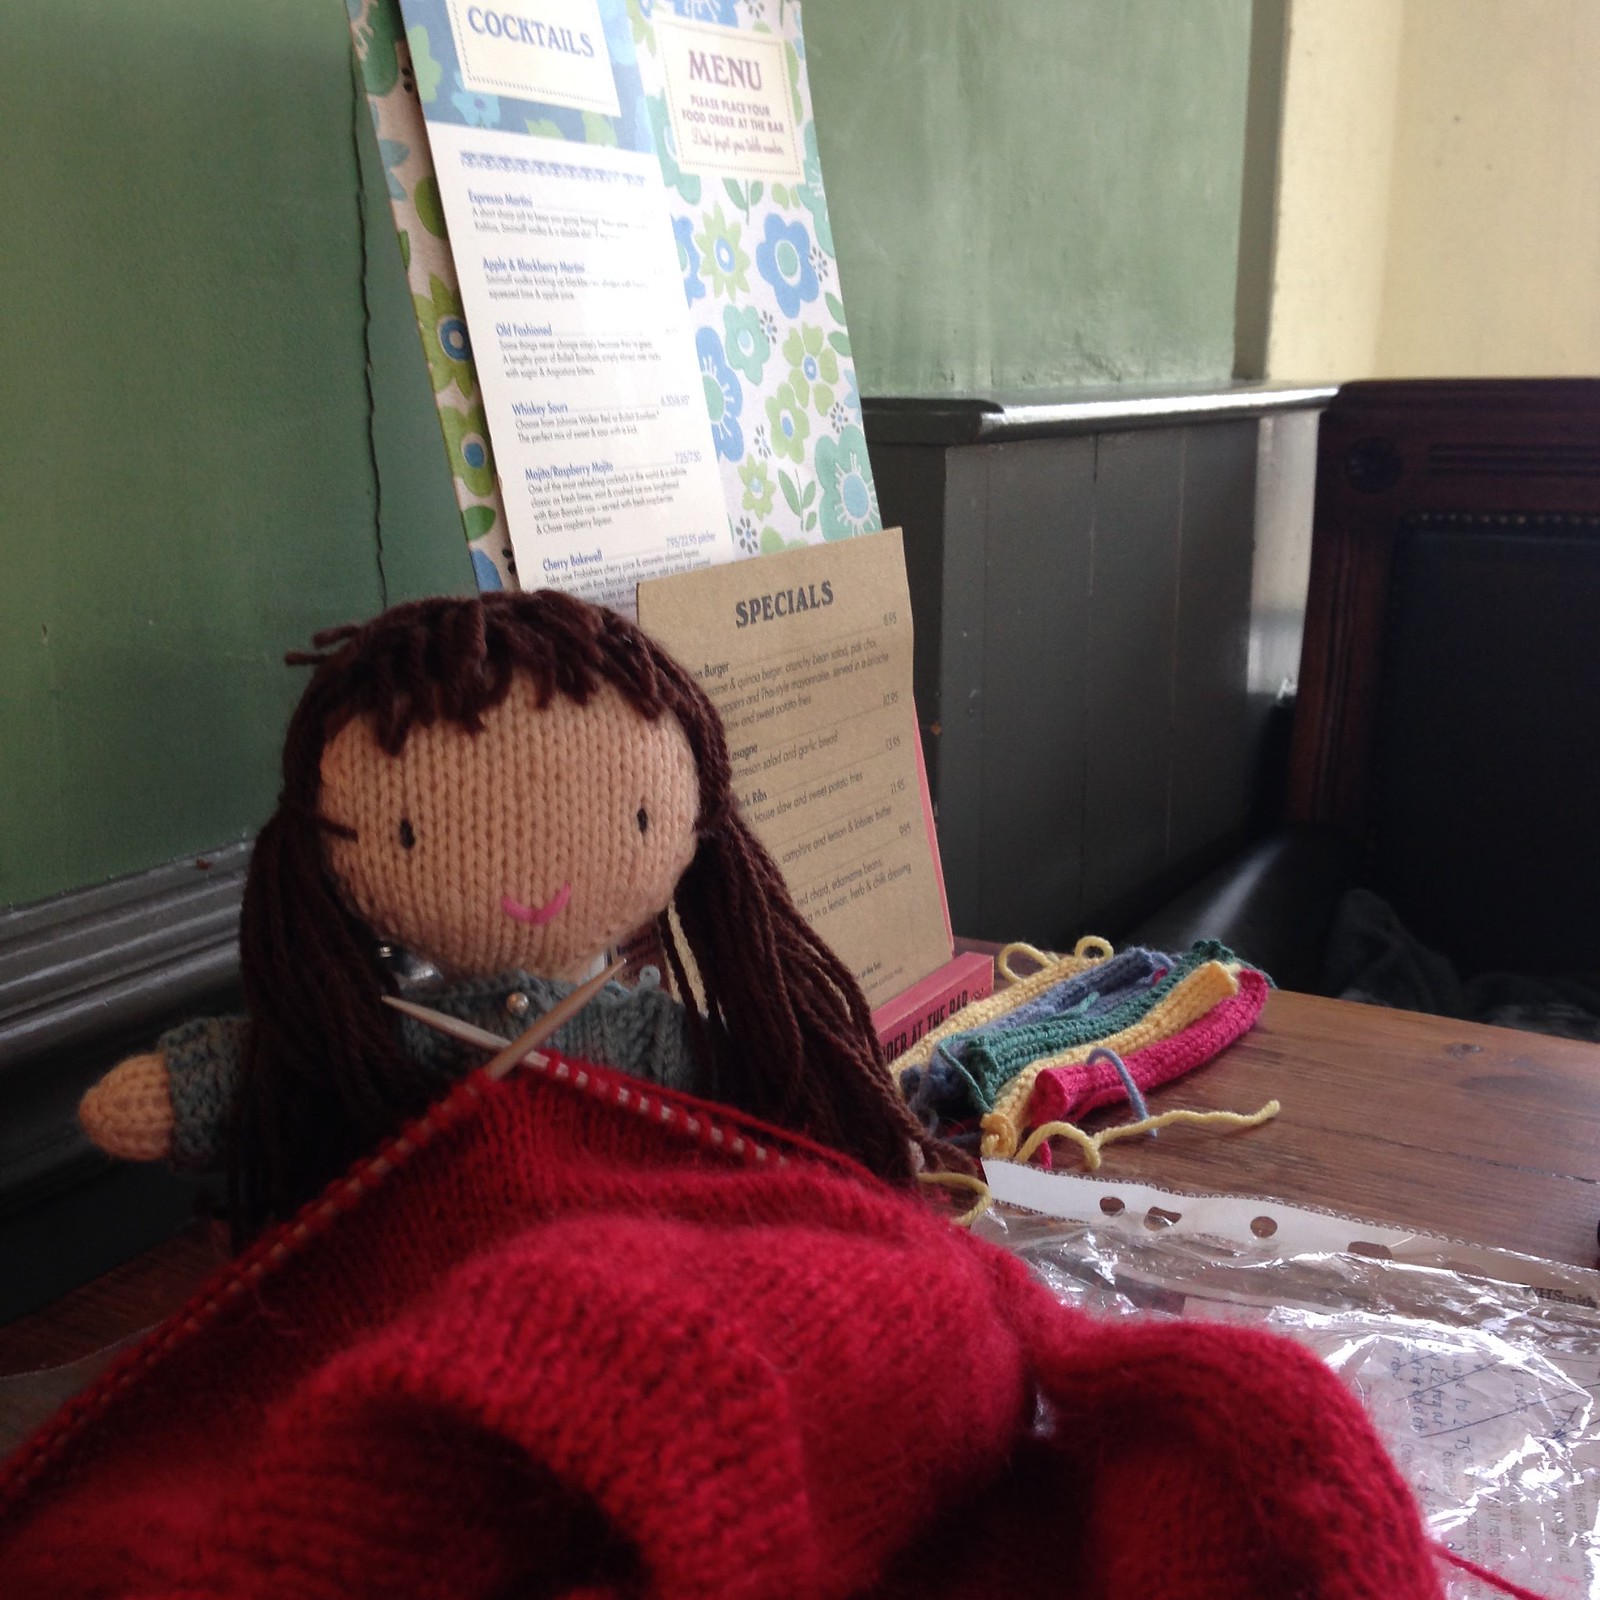
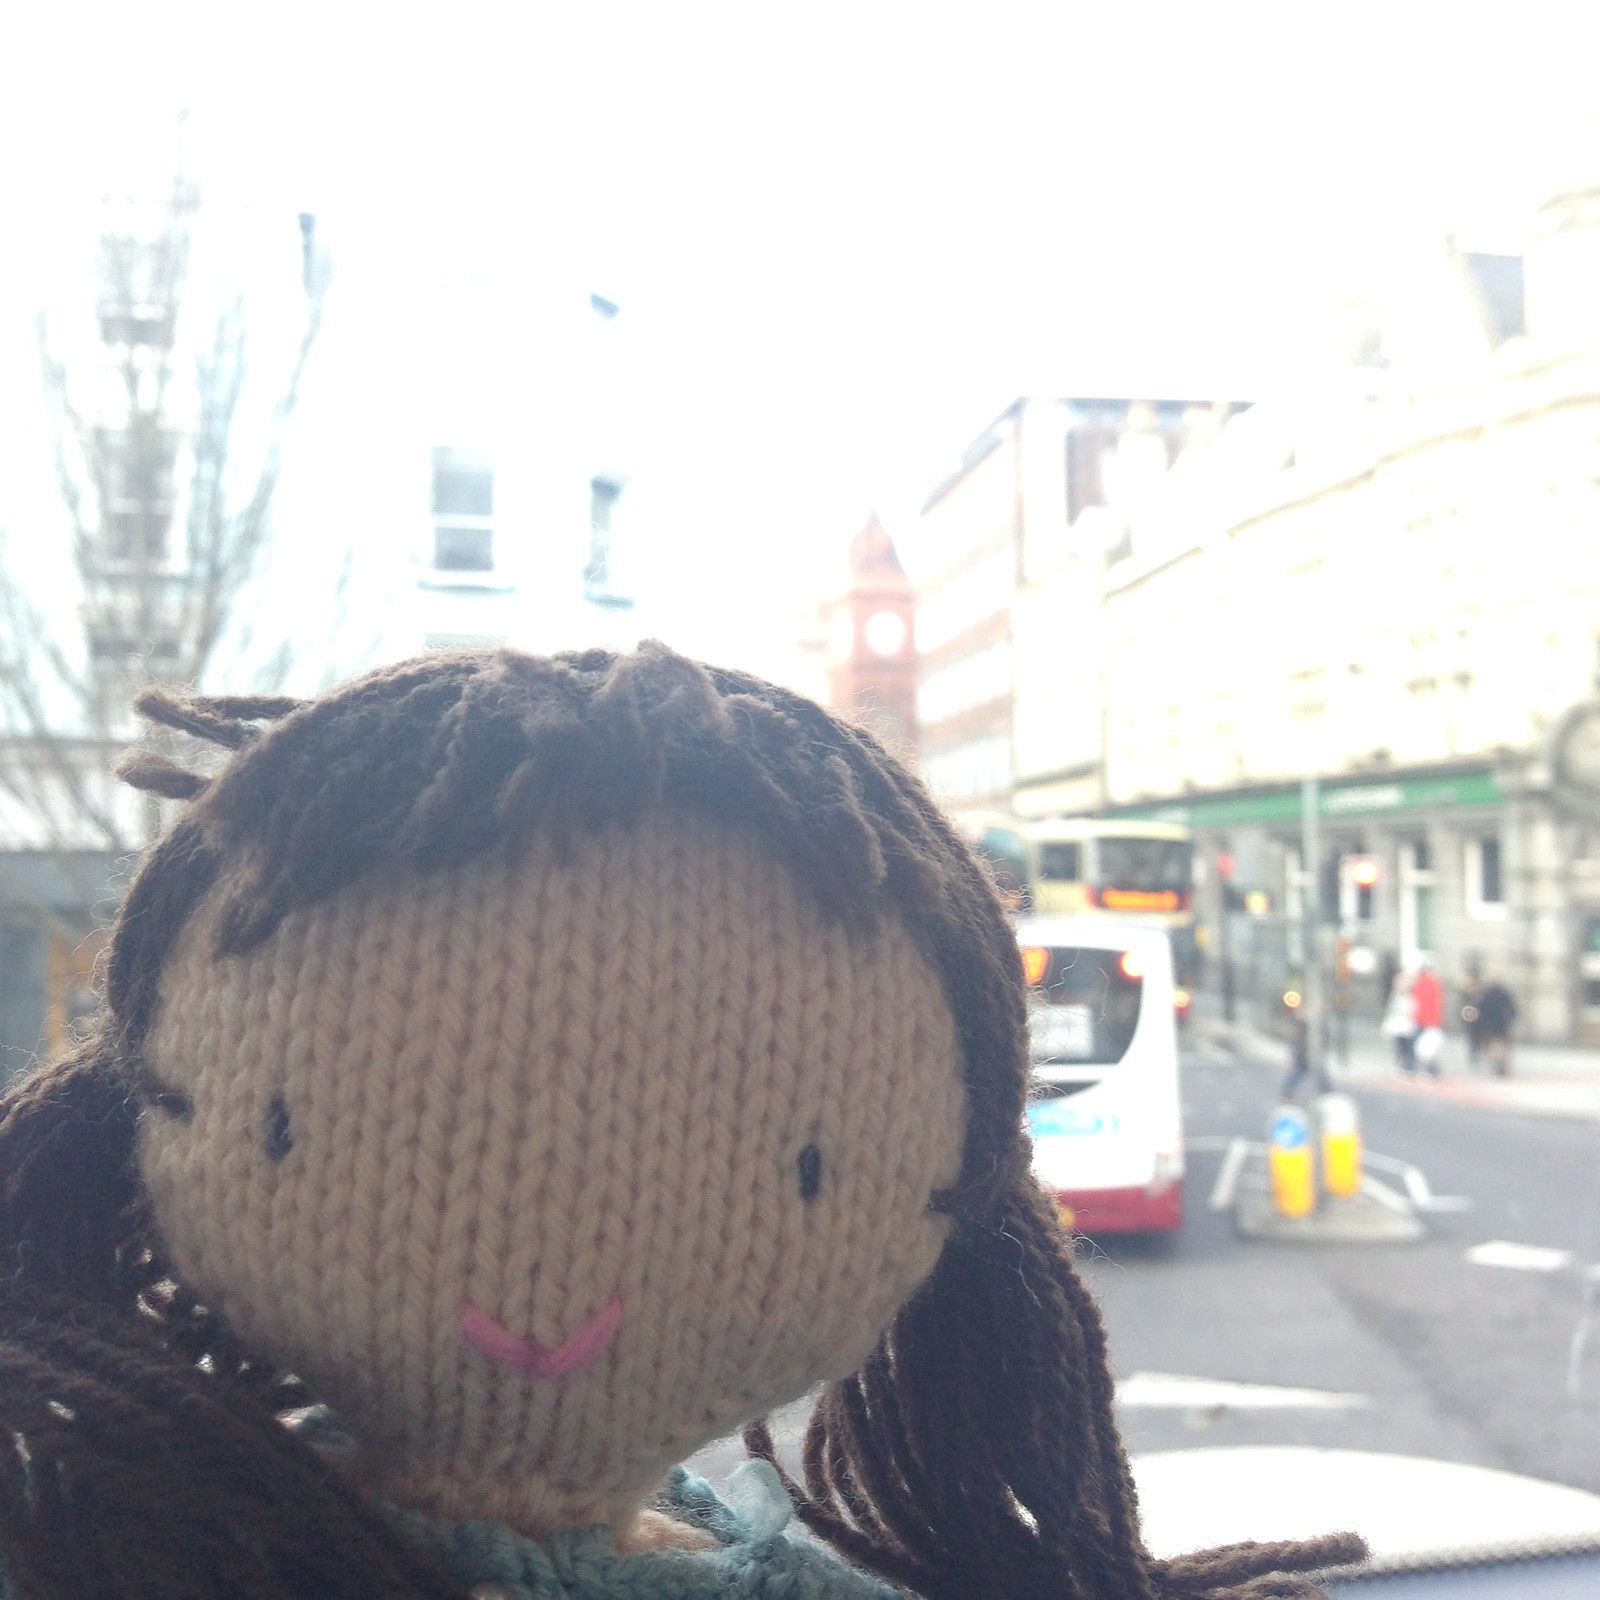
Today I had a grand afternoon, going on the bus and doing some cafe knitting with the greatest company, Snowy and Debbie. You can see some of Debbie's knitting in the background - a grand project she has in progress! Snowy has a pet cloud called jungle - a knitted cloud! Here is a picture of him sitting on a rock in canada:
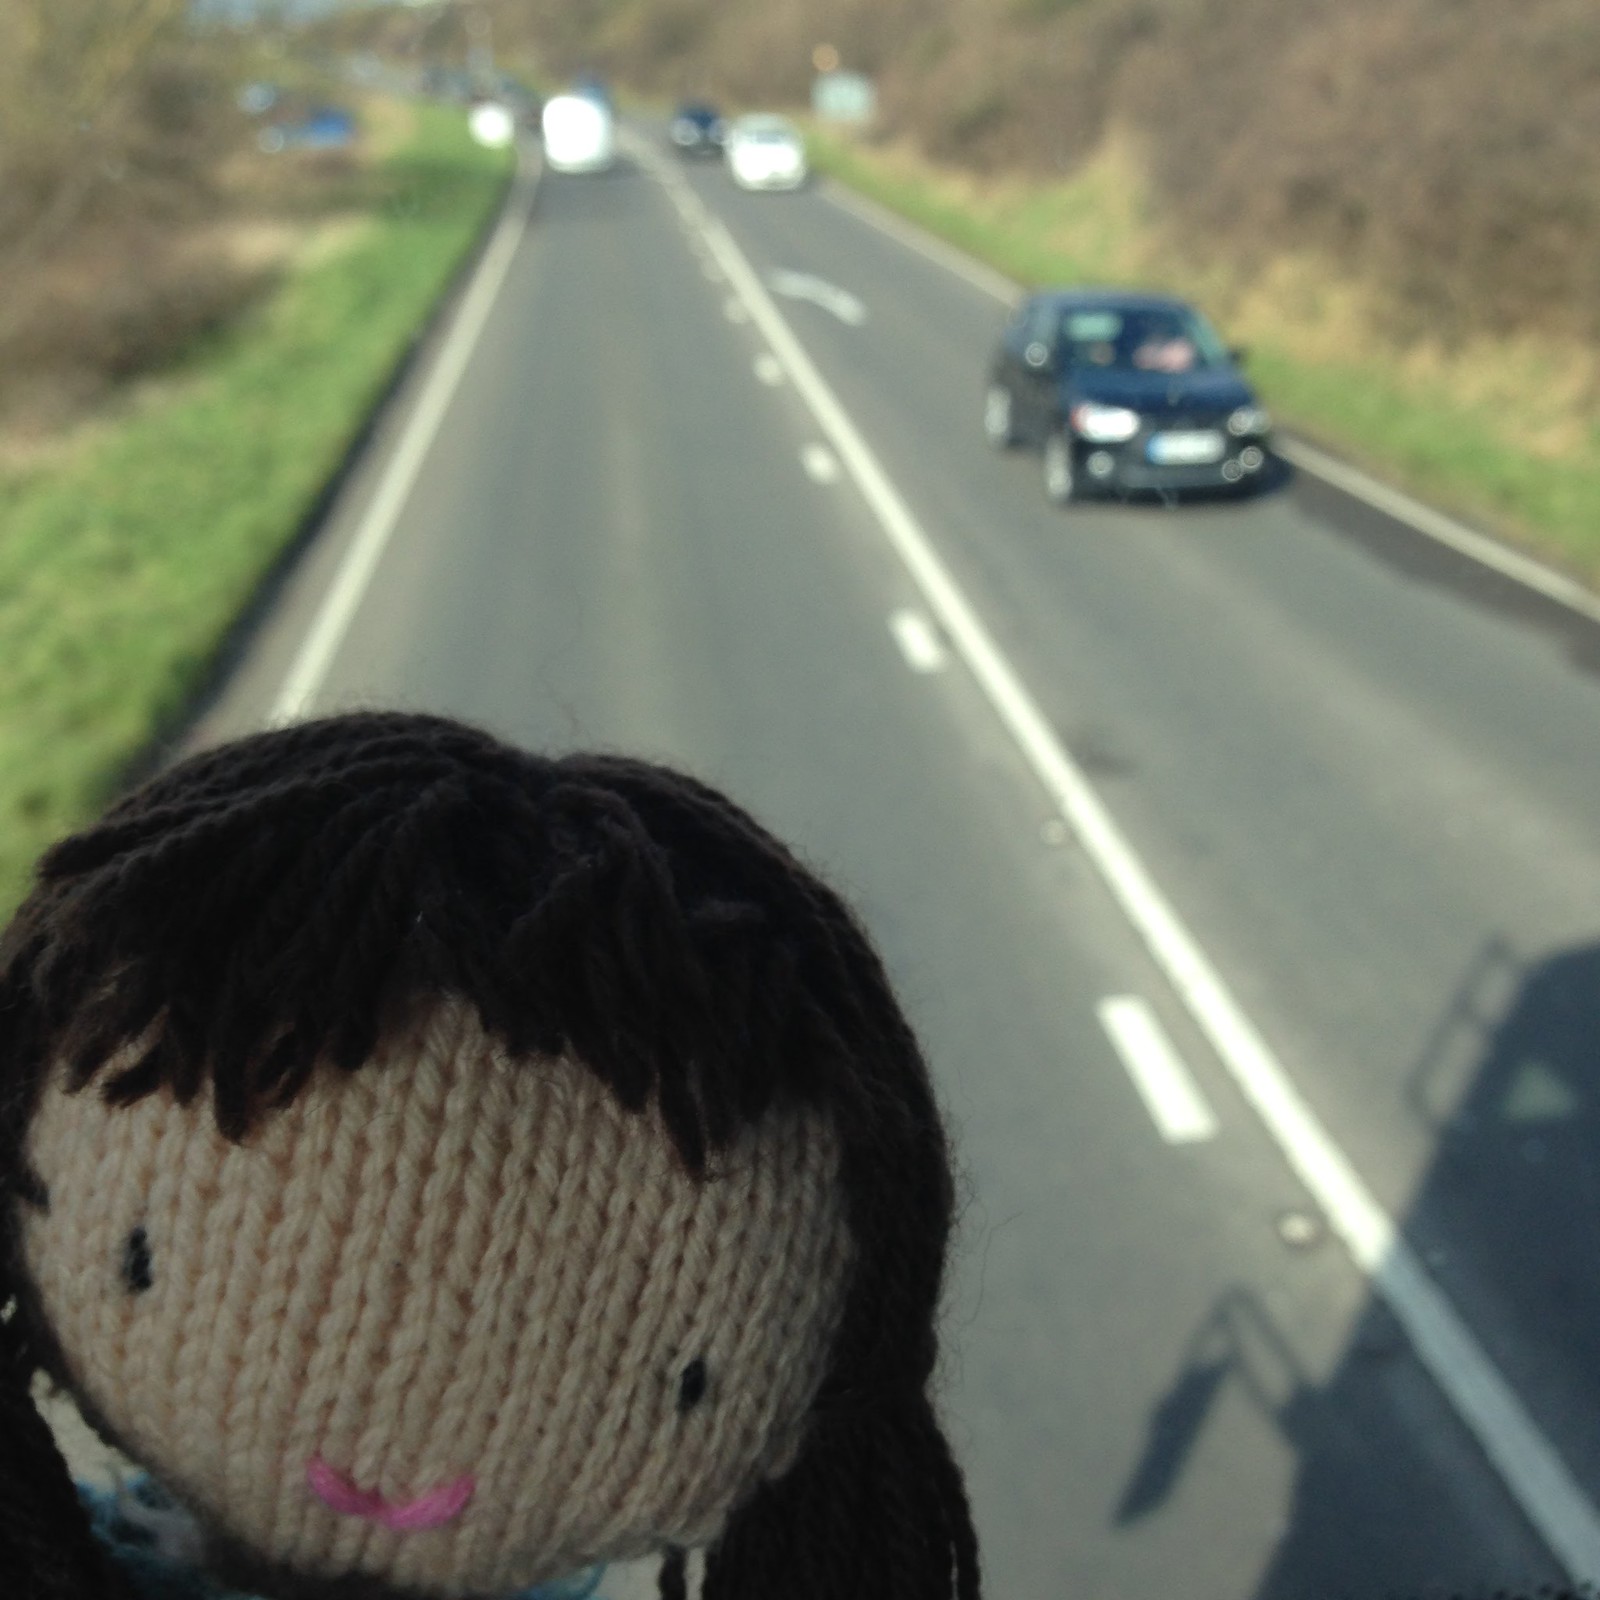
I had the best seat on the bus on the way - front row. When I got on the bus was empty too which was strange but nice. I had a funny encounter with some people on another bus who we kept overtaking and being overtaken by. They kept waving to me - I think they thought I was much younger than I am (it might have been the doll that did it). That was quite friendly, but I felt a bit awkward. The scene was so lovely on the coast road though, the sun was shining and the sea was so calm.
On the way home it was the opposite of empty (full) but I carried on my knitting for a while and ignored the hustle and bustle around me. I managed to do such a lot of my knitting I was so happy. I am knitting a red cardigan - it has been a work in progress for about 2 years now, but I have a June deadline to meet. It is easy for me to get distracted these days but I think I am going to try to do a row a day from now on.
There is no romance in this post, but I did manage a little valentines themed craft this weekend which I will share once it's dry! Also this weekend I have been doing a lot of clothes folding - phew!
Happy valentines day if you have celebrated this day of love. x
Tuesday, 2 February 2016
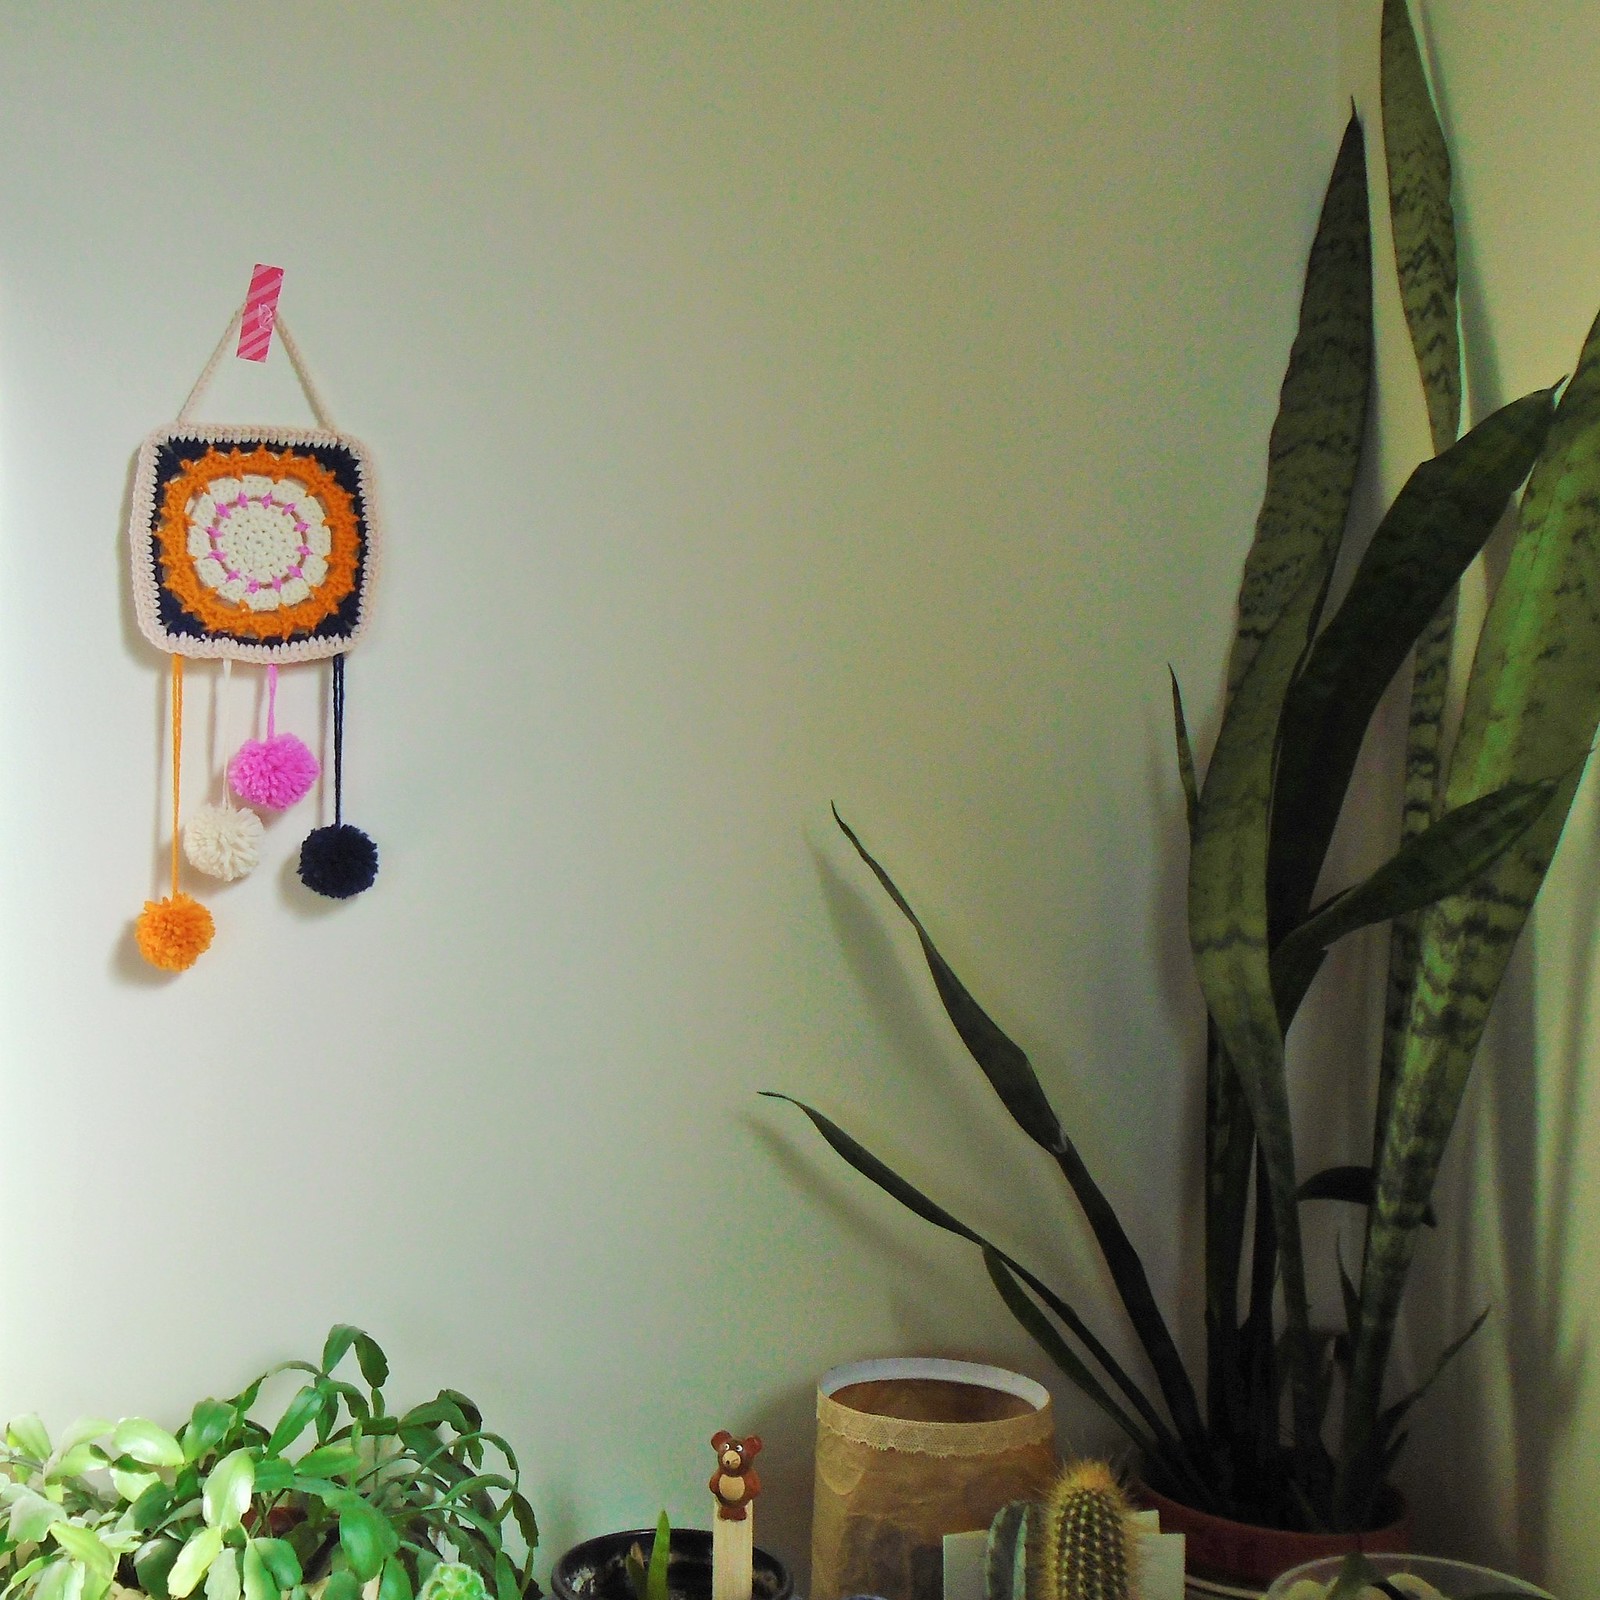
a little crochet wall hanging
One of my new years resolutions was to do a few more crafts to help brighten up our home. I moved around a lot in my twenties and I developed a bit of a phobia of owning unnecessary things. And for me purely decorative items were definitely in the category of unnecessary. But now we are settled in our home and able to hammer nails into the wall, I am feeling much more like I want to cosy up our home a little and there is good reason to have decorative and unnecessary bits and bops.
Recently I have seen some wonderful ideas using textiles to brighten up walls. Not just tapestry and embroidery, but also weavings and applique banners, and crochet hangings.
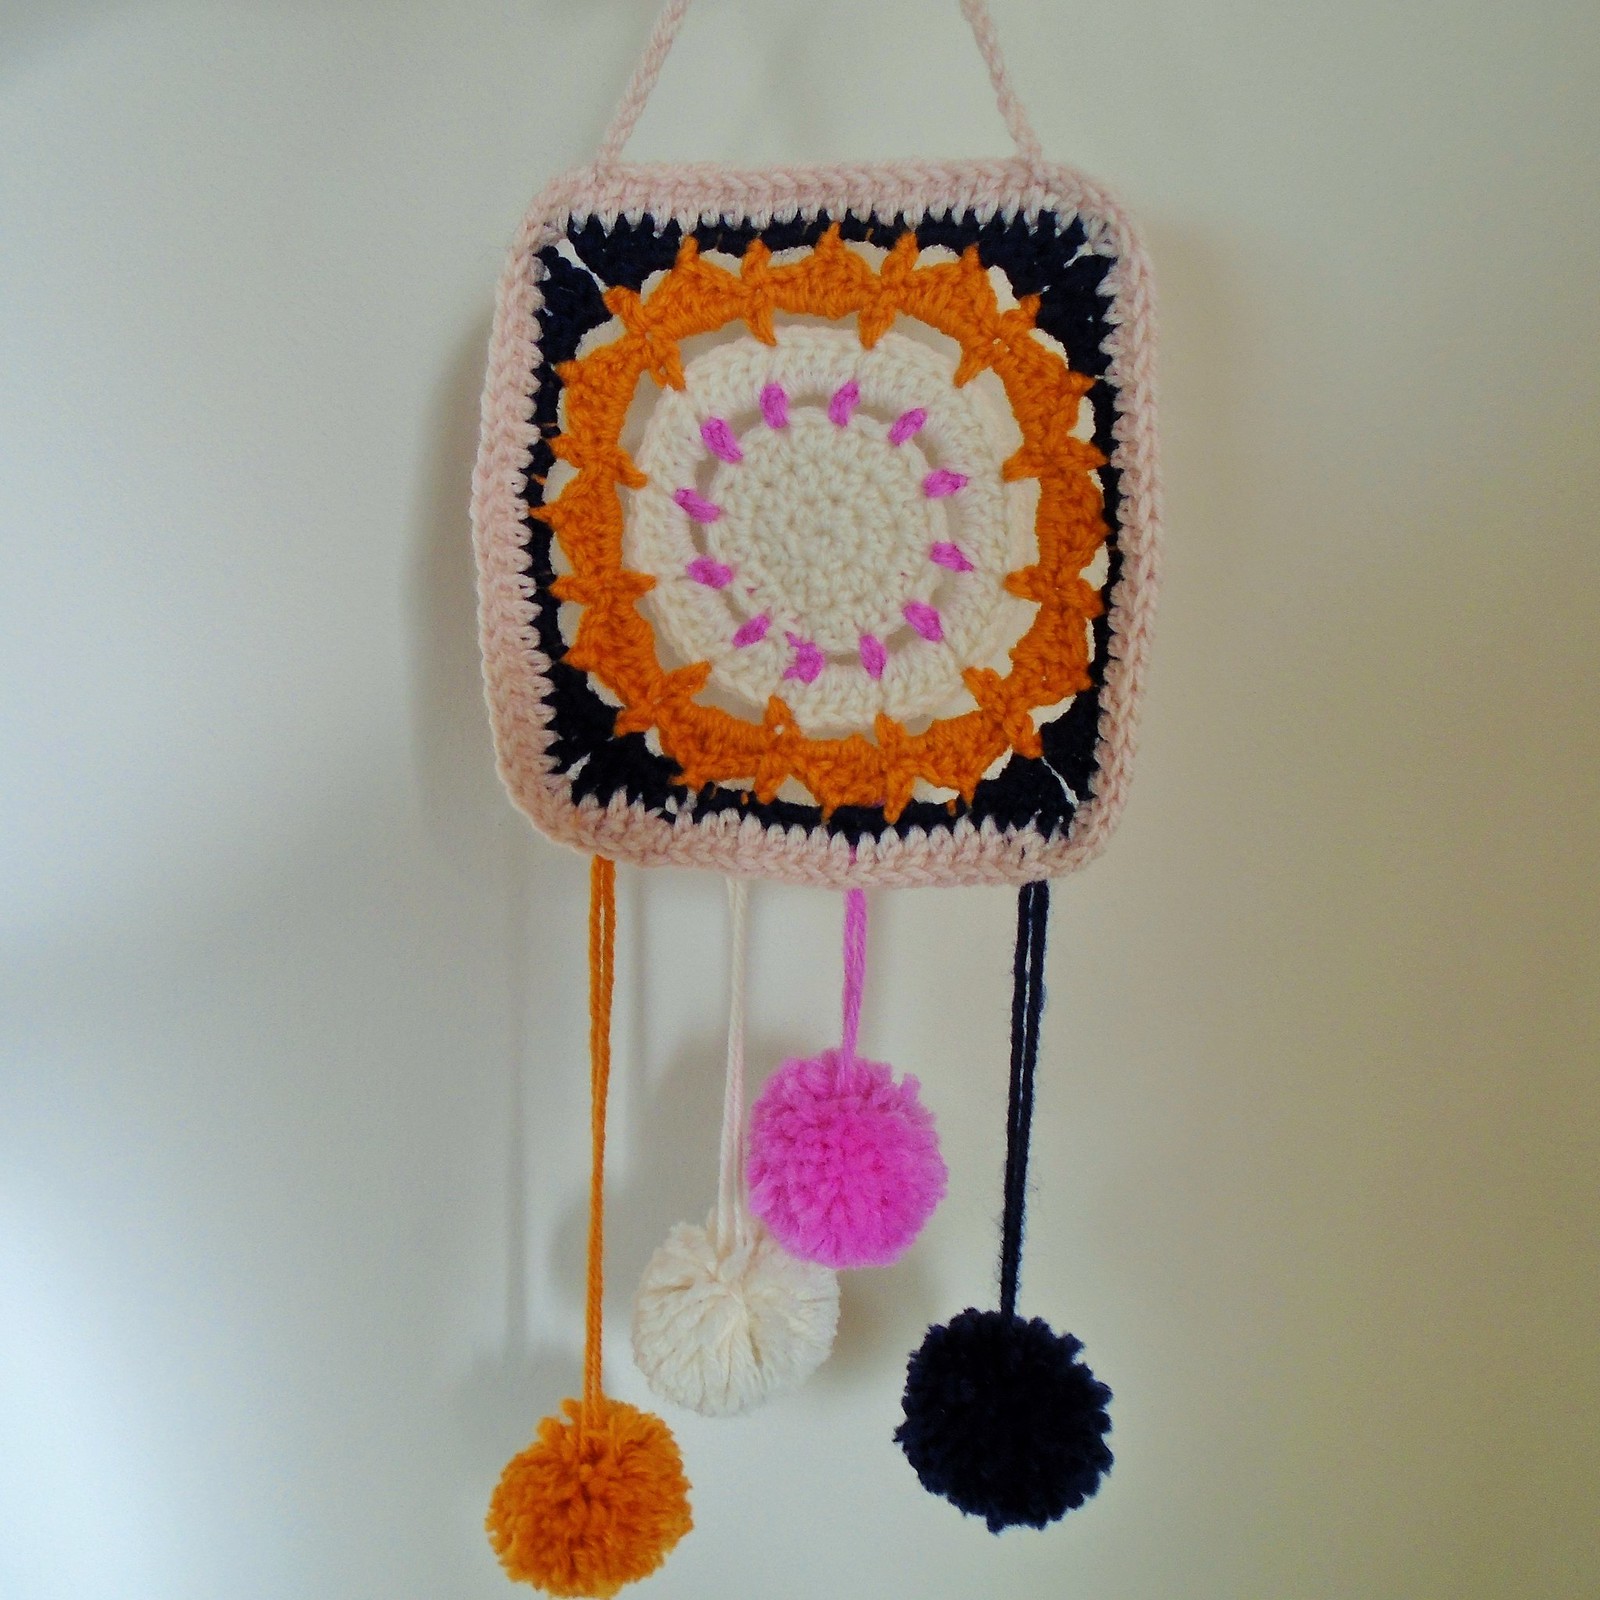
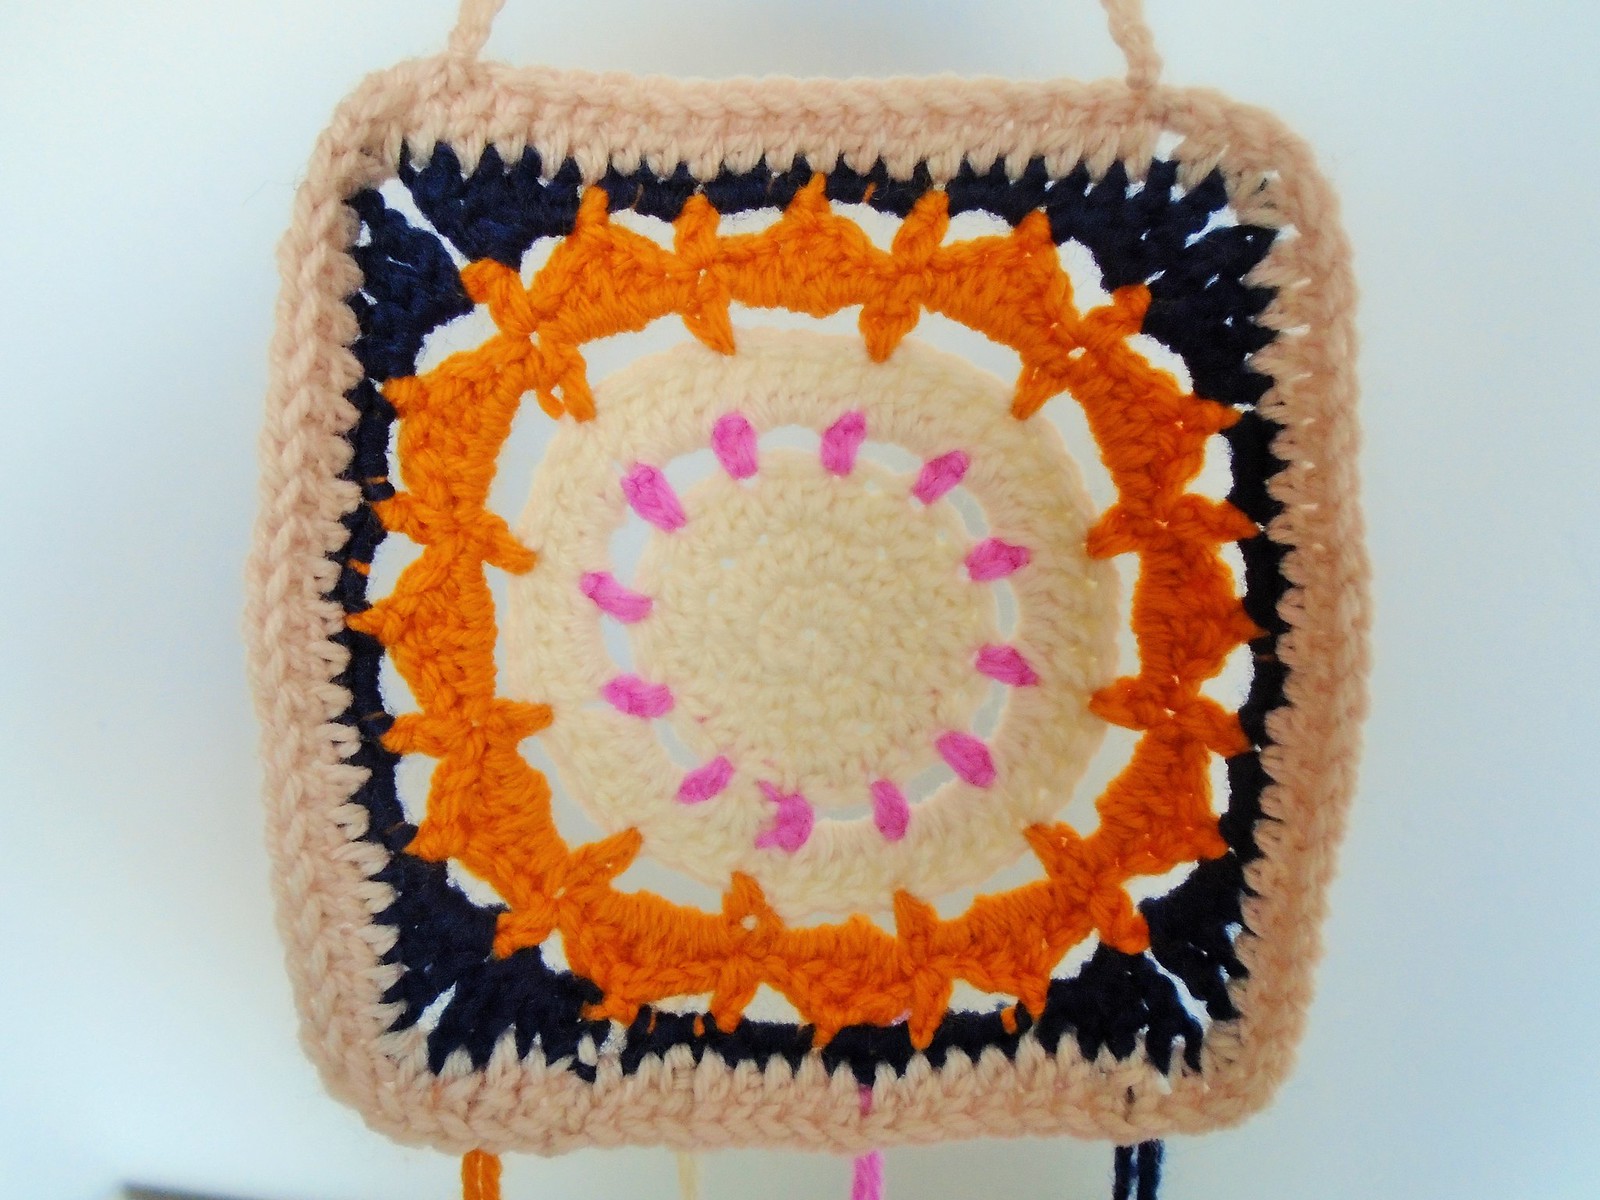
This week I had a little go myself at a crochet wall hanging. I found a lovely free pattern online for this square motif - the flower power granny square. I thought this was a pretty design and a good one to introduce different colour combinations to. I'd like to use this pattern again changing the number of colours used to see how it effects the way the pattern is picked out.
To turn my square into a hanging for the wall, I just added some pom poms to give it a bit of weight to hang (and I like pom poms. Although I have not spaced them very well so might need to revisit those!) and a little chain stitch handle to the top. I've got it taped up at the moment until I have made it a partner.
Lovely stuff!
Thursday, 28 January 2016
arm knitting
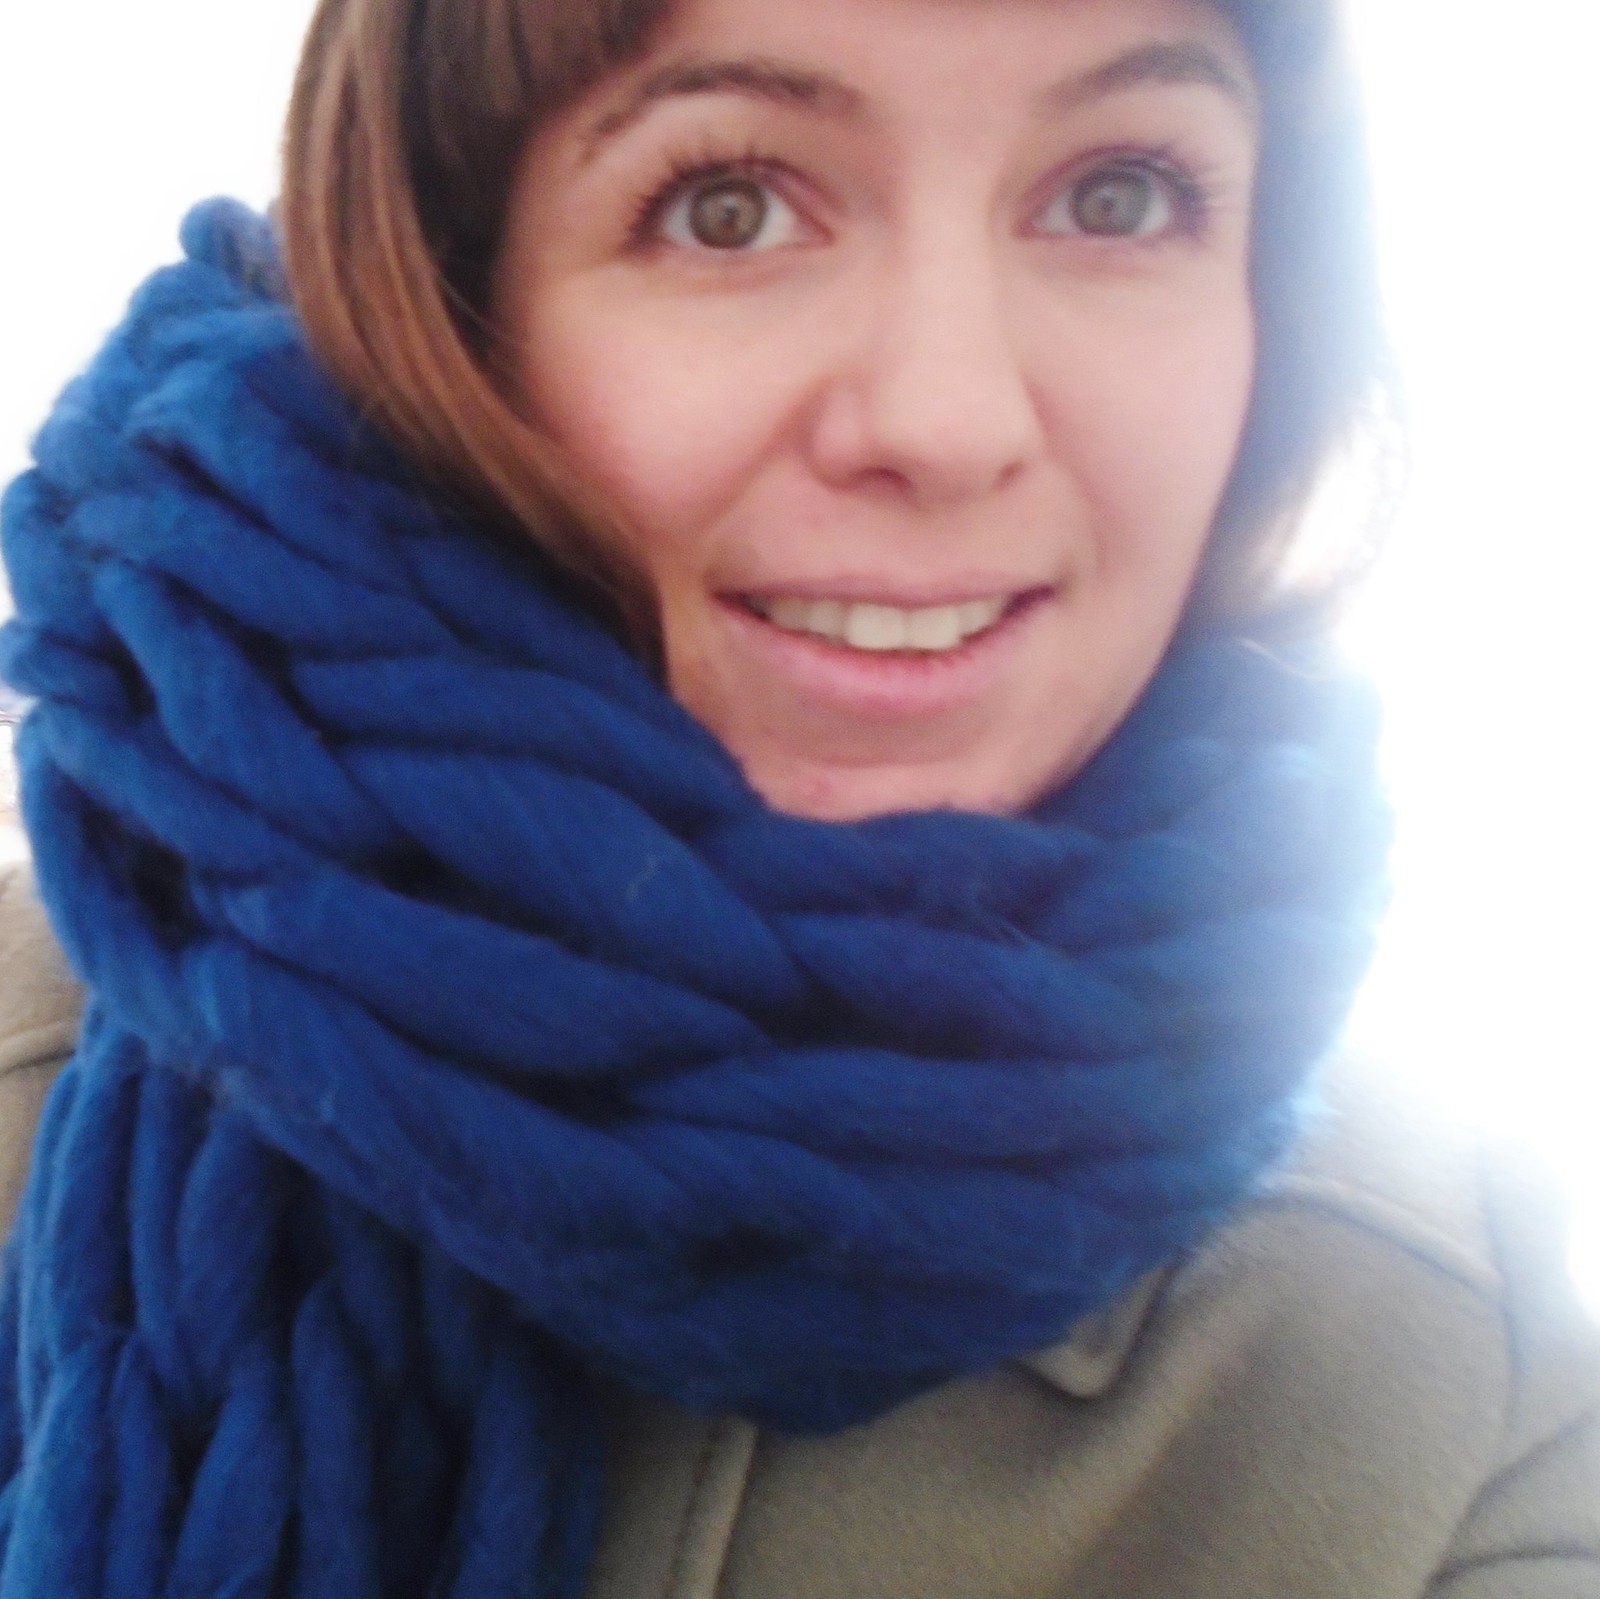
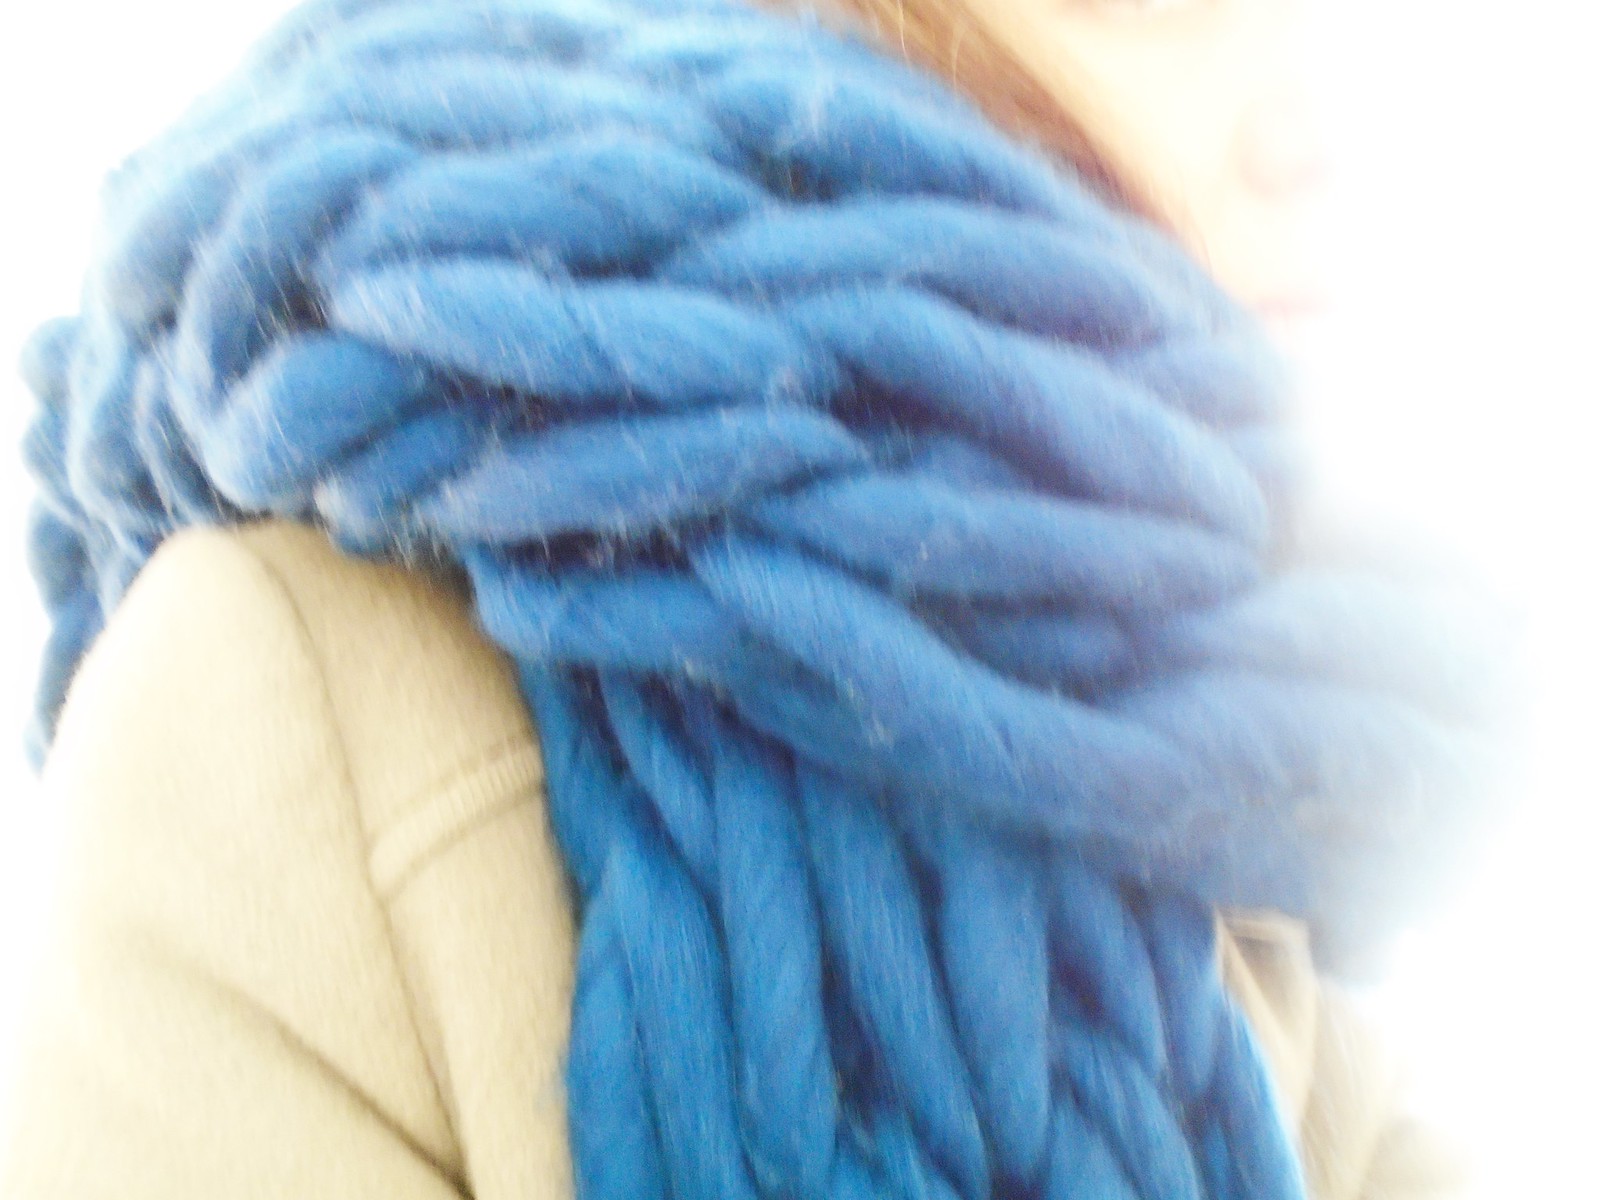
A couple of weeks back I took the bus to Brighton and purchased myself some amazing super chunky wool from Tiger. I couldn't resist it - I've never seen any wool so massive and fluffy and soft (and a good price too)
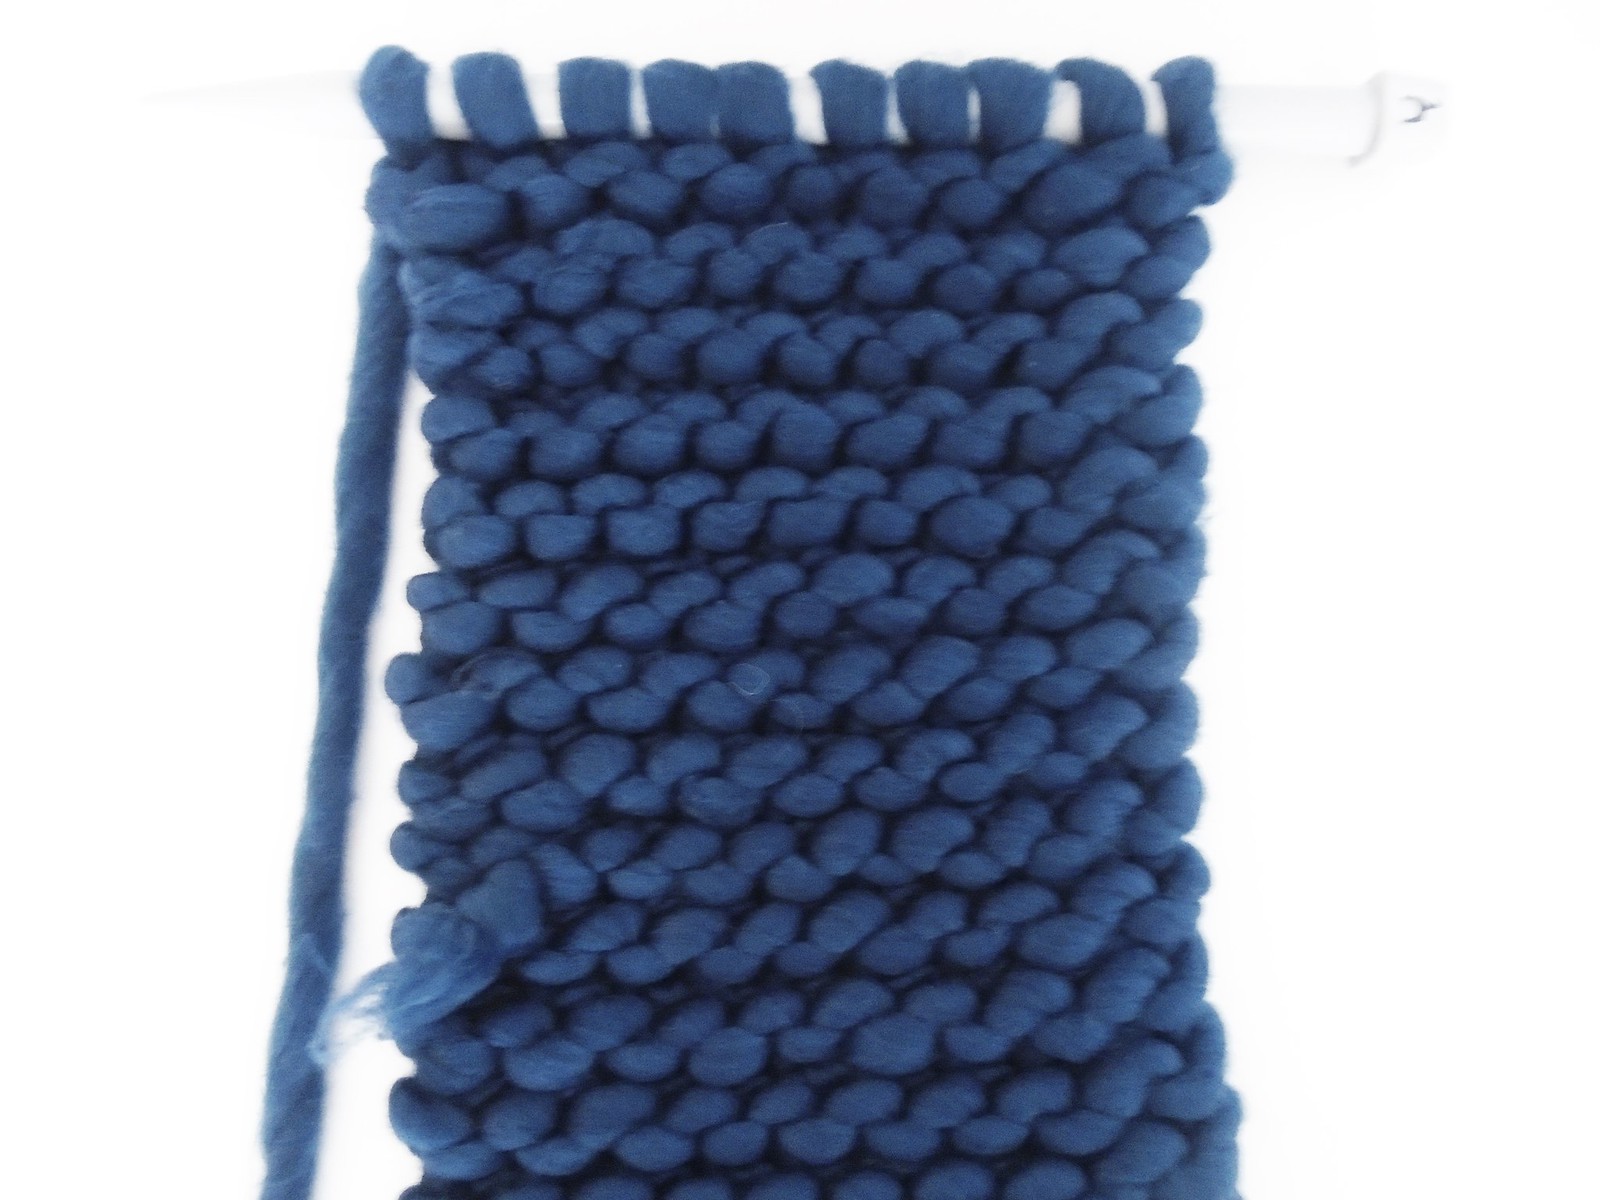
I bought just a couple of balls thinking a warm winter woollen would be a good project for me. The wool suggested using 20mm needles which I managed to find, but I was not very pleased with this suggestion. I tried a scarf in stocking stitch and then tried another in garter stitch, but the fabrics produced were so tight and dense and stiff, it would have been a bit of a heavy scarf really.
Then a little inspiration hit me. I had seen a video a little while back from Wool and the Gang (I really like this) about Arm knitting (click here and see for yourself). Yes, this is exactly as it sounds - your arms are the needles! At first I was a little put off as found it quite tricky to tune my eyes into what was going on in the video as the casting on was slightly tricky (but not tricky once you've worked it out) But I watched a few times and soon worked it out and managed to cast on 8 stitches like this.
And I was so pleased I did get past the cast on row, because the actual knitting rows are so super super simple. Super super super simple. If you have never tried knitting before, or have tried but found it tricky, I really recommend setting yourself a little arm knitting project - it was so easy peasy, and grew so fast it was a really satisfying one evening pastime.
And the arm knitting was just the thing for my super soft and fluffy and chunky massive wool as the fabric is really loose and soft and not rigid and dense anymore, and because it was loose, my scarf was quite a good length too, much longer than my needle knitting versions.
My pattern was - cast on 8 stitches and arm knit until you run out of wool. (or until you nearly run out of wool so you have enough for your cast off row) Then weave in your ends and voila! You could perhaps use 6 stitches for a slightly thinner and longer scarf - I might yet unpick again and try that. The beauty of this is it's so super fast that you don't mind trying again.
So if you have bought some of Tiger's magnificent wool with no clue what to do - do this. And tell me about it if you do. Or tell me more about Wool and the Gang.
I bought just a couple of balls thinking a warm winter woollen would be a good project for me. The wool suggested using 20mm needles which I managed to find, but I was not very pleased with this suggestion. I tried a scarf in stocking stitch and then tried another in garter stitch, but the fabrics produced were so tight and dense and stiff, it would have been a bit of a heavy scarf really.
Then a little inspiration hit me. I had seen a video a little while back from Wool and the Gang (I really like this) about Arm knitting (click here and see for yourself). Yes, this is exactly as it sounds - your arms are the needles! At first I was a little put off as found it quite tricky to tune my eyes into what was going on in the video as the casting on was slightly tricky (but not tricky once you've worked it out) But I watched a few times and soon worked it out and managed to cast on 8 stitches like this.
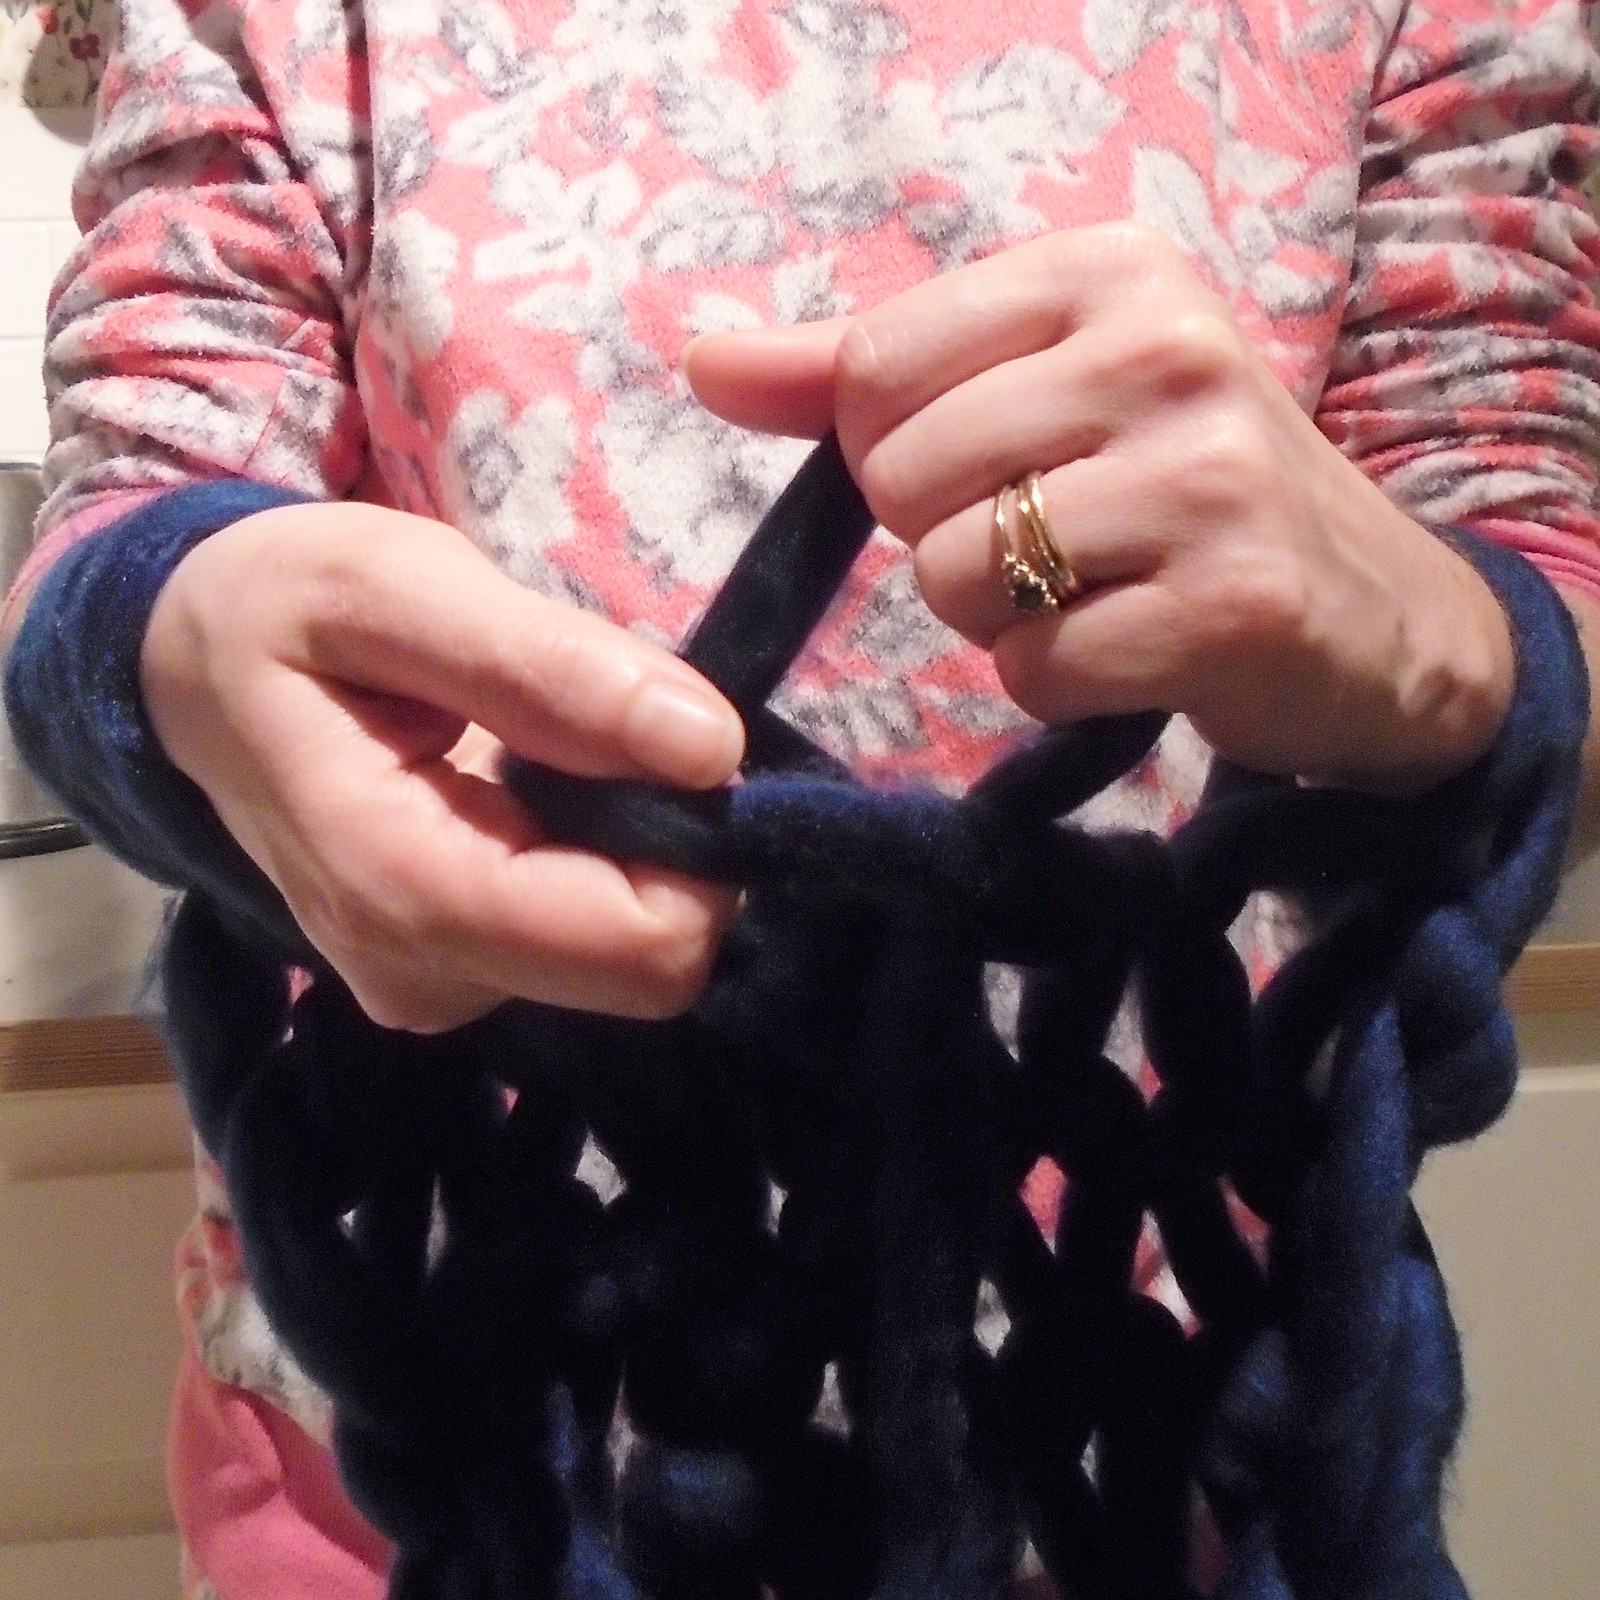
And I was so pleased I did get past the cast on row, because the actual knitting rows are so super super simple. Super super super simple. If you have never tried knitting before, or have tried but found it tricky, I really recommend setting yourself a little arm knitting project - it was so easy peasy, and grew so fast it was a really satisfying one evening pastime.
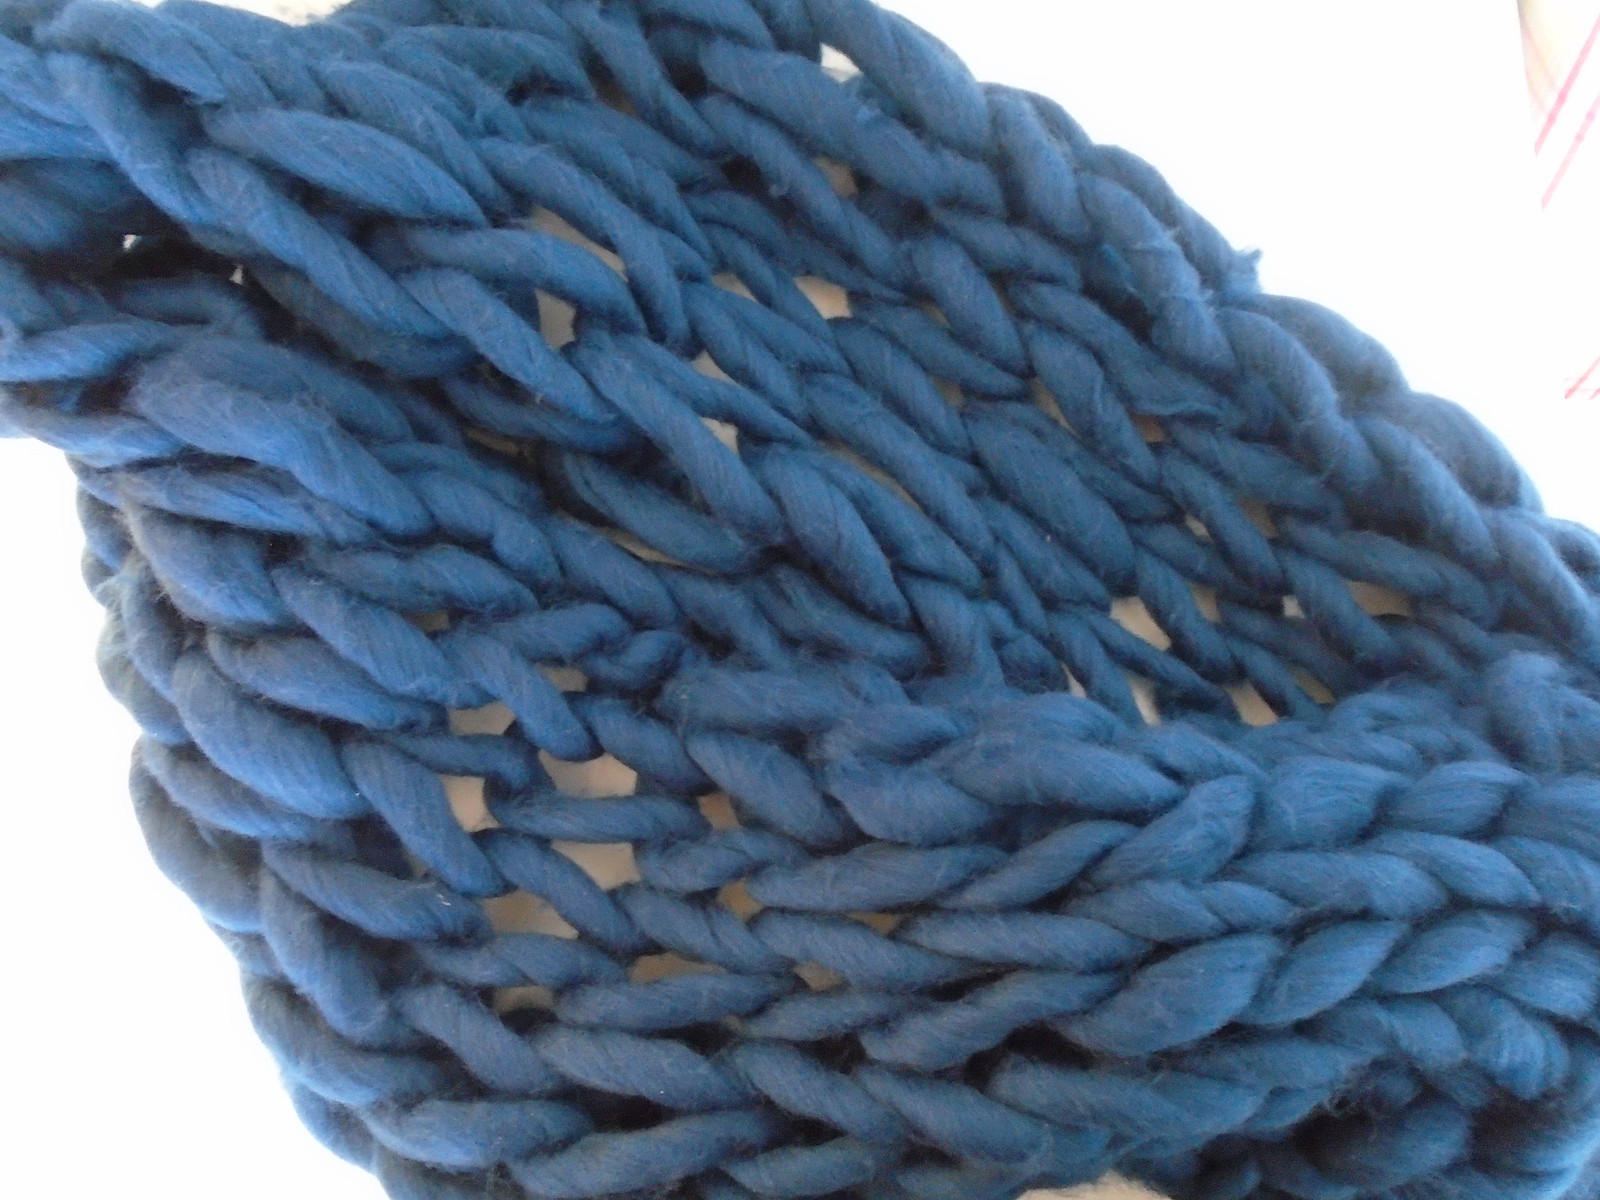
And the arm knitting was just the thing for my super soft and fluffy and chunky massive wool as the fabric is really loose and soft and not rigid and dense anymore, and because it was loose, my scarf was quite a good length too, much longer than my needle knitting versions.
My pattern was - cast on 8 stitches and arm knit until you run out of wool. (or until you nearly run out of wool so you have enough for your cast off row) Then weave in your ends and voila! You could perhaps use 6 stitches for a slightly thinner and longer scarf - I might yet unpick again and try that. The beauty of this is it's so super fast that you don't mind trying again.
So if you have bought some of Tiger's magnificent wool with no clue what to do - do this. And tell me about it if you do. Or tell me more about Wool and the Gang.
Thursday, 21 January 2016
wicker and wool
Last week I was mainly making pom poms - I love them so much, and their bright woolly fluffiness. I saw Lucy's lovely baskets and after that couldn't look at our wicker washing basket in the same way again.
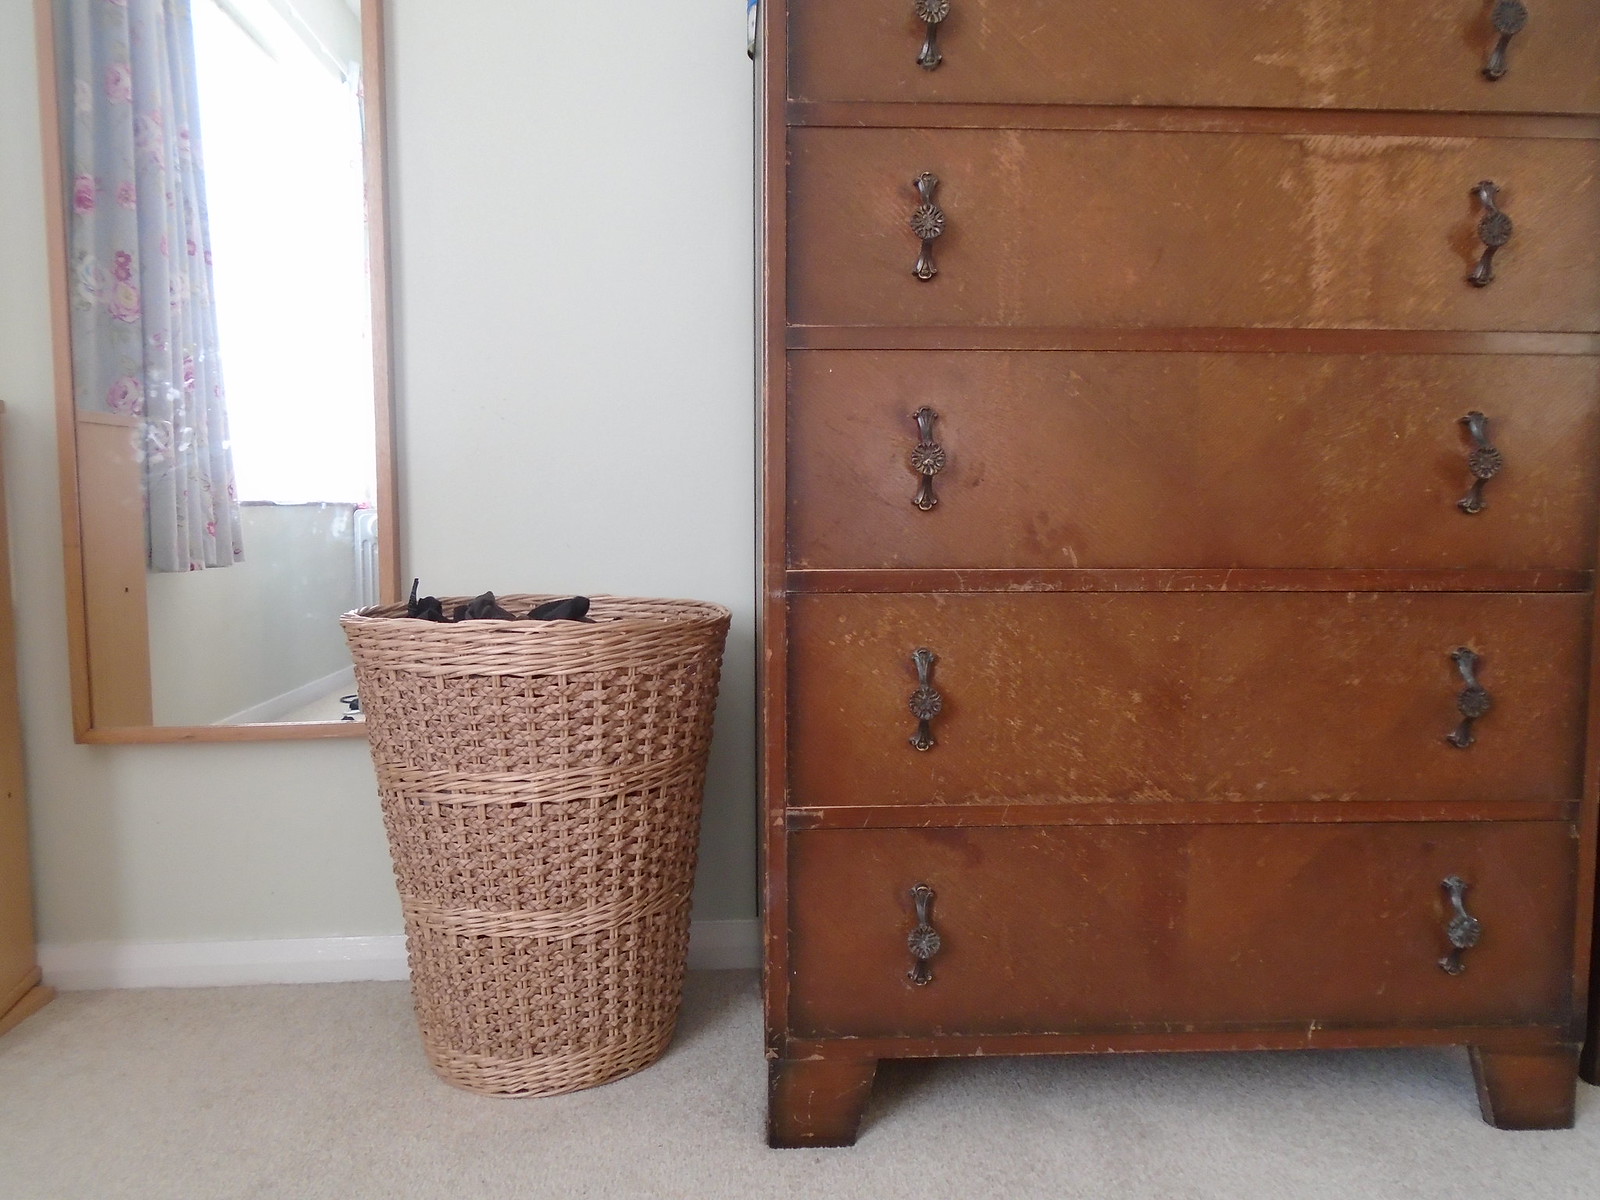
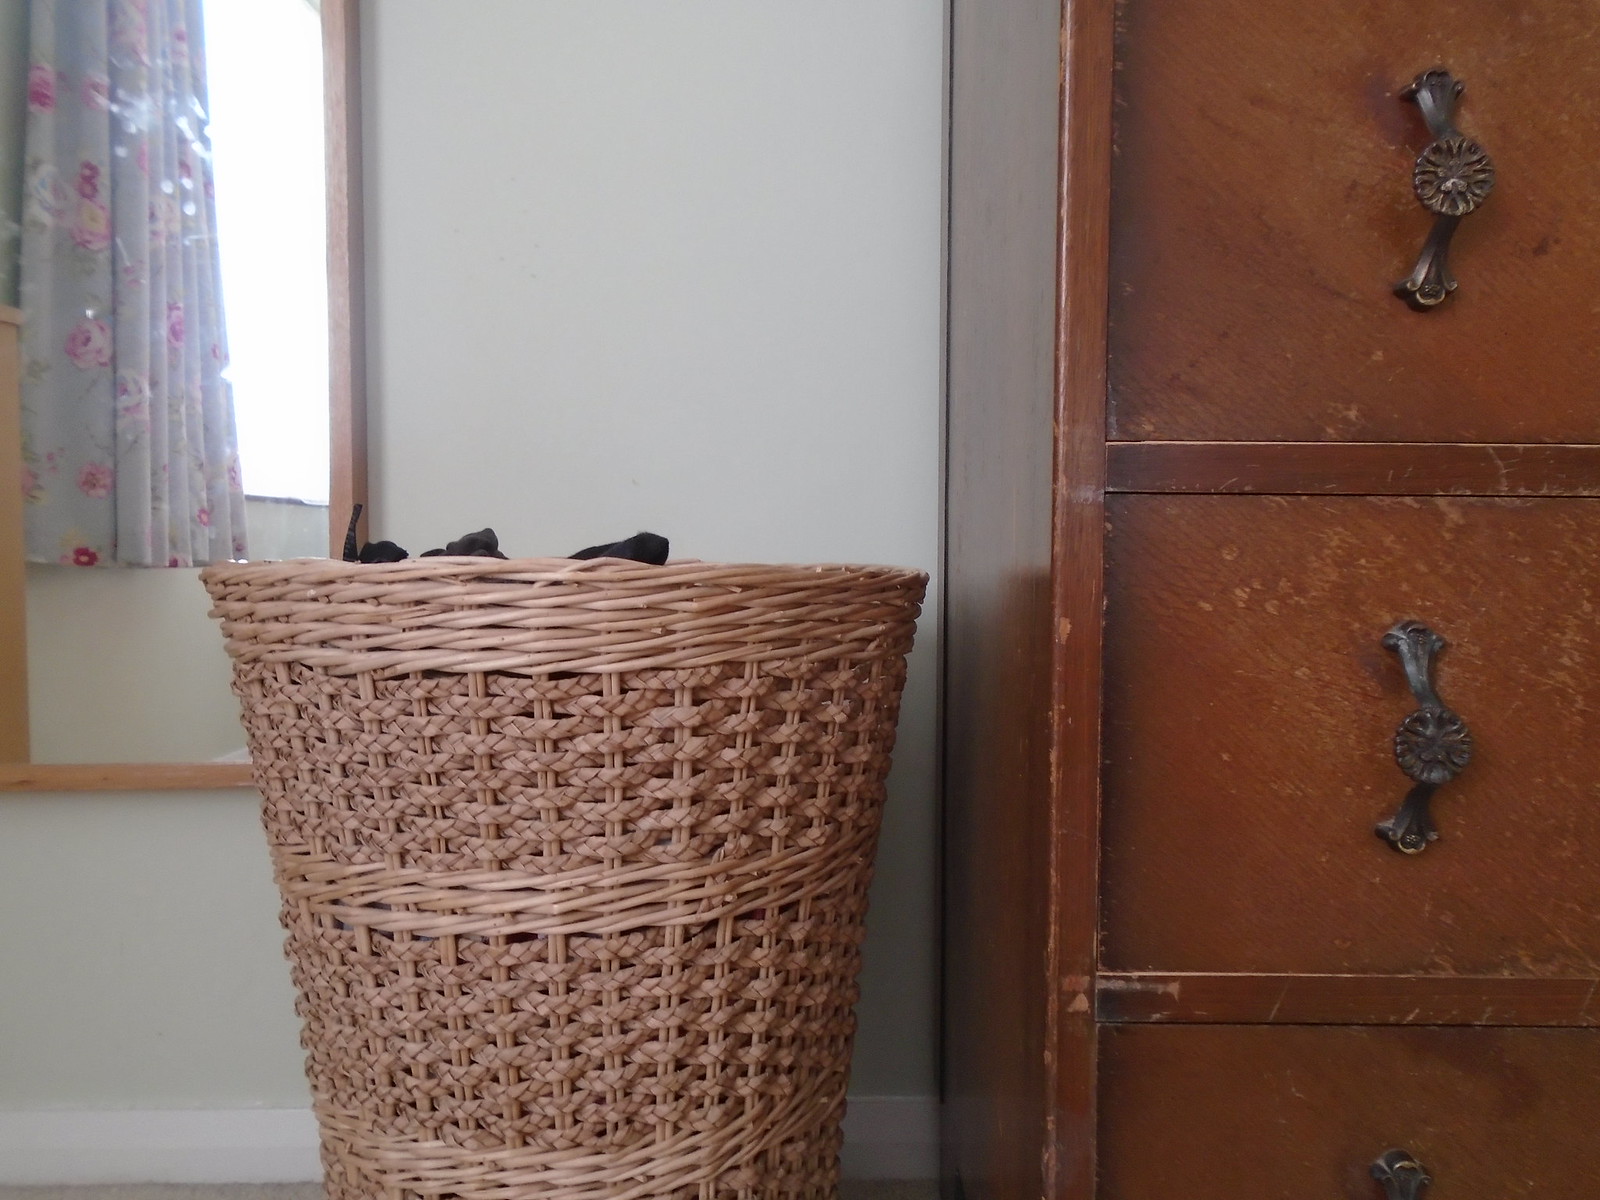
Poor plain basket (poor dirty mirror) (poor mum lots of laundry!)
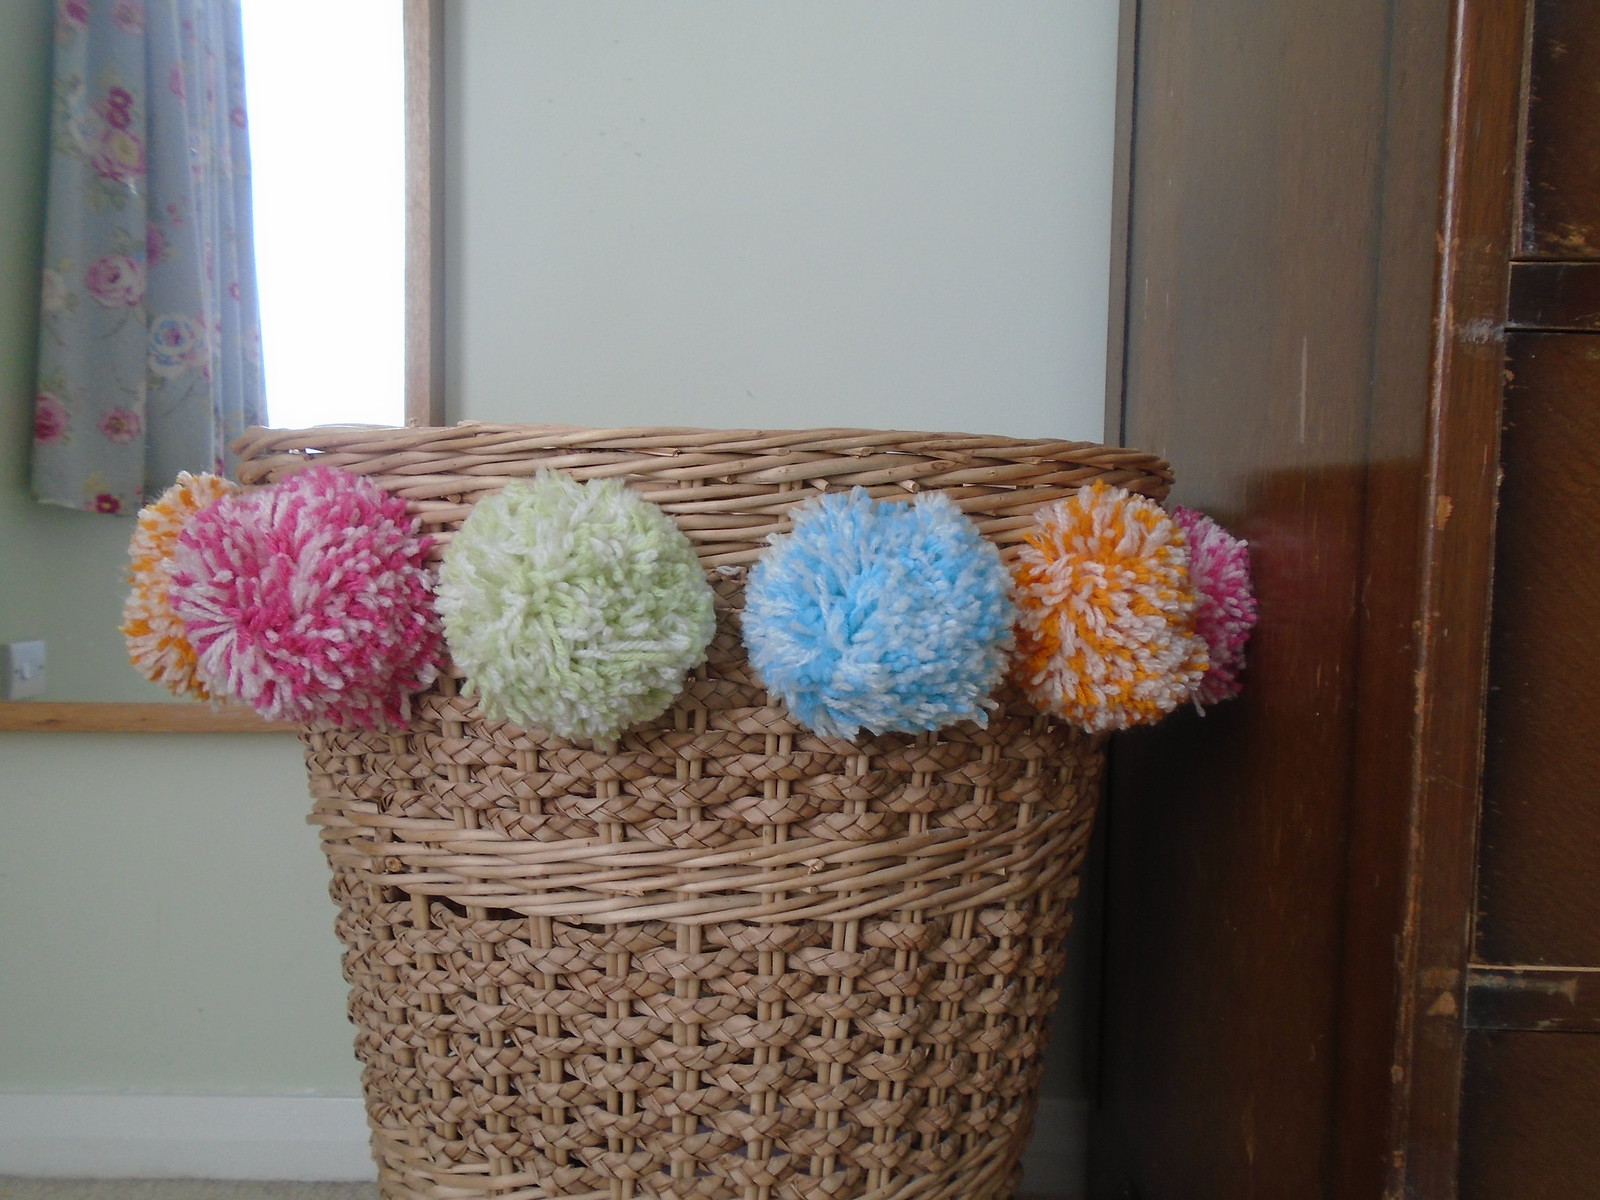
I loved the look of Lucy's Pom poms, a sort of salt and pepper effect, so made my Pom poms with a coloured wool and a cream wool together to achieve that grand look. I used four different colours, a hot pink, sky blue, pistachio green and golden yellow.
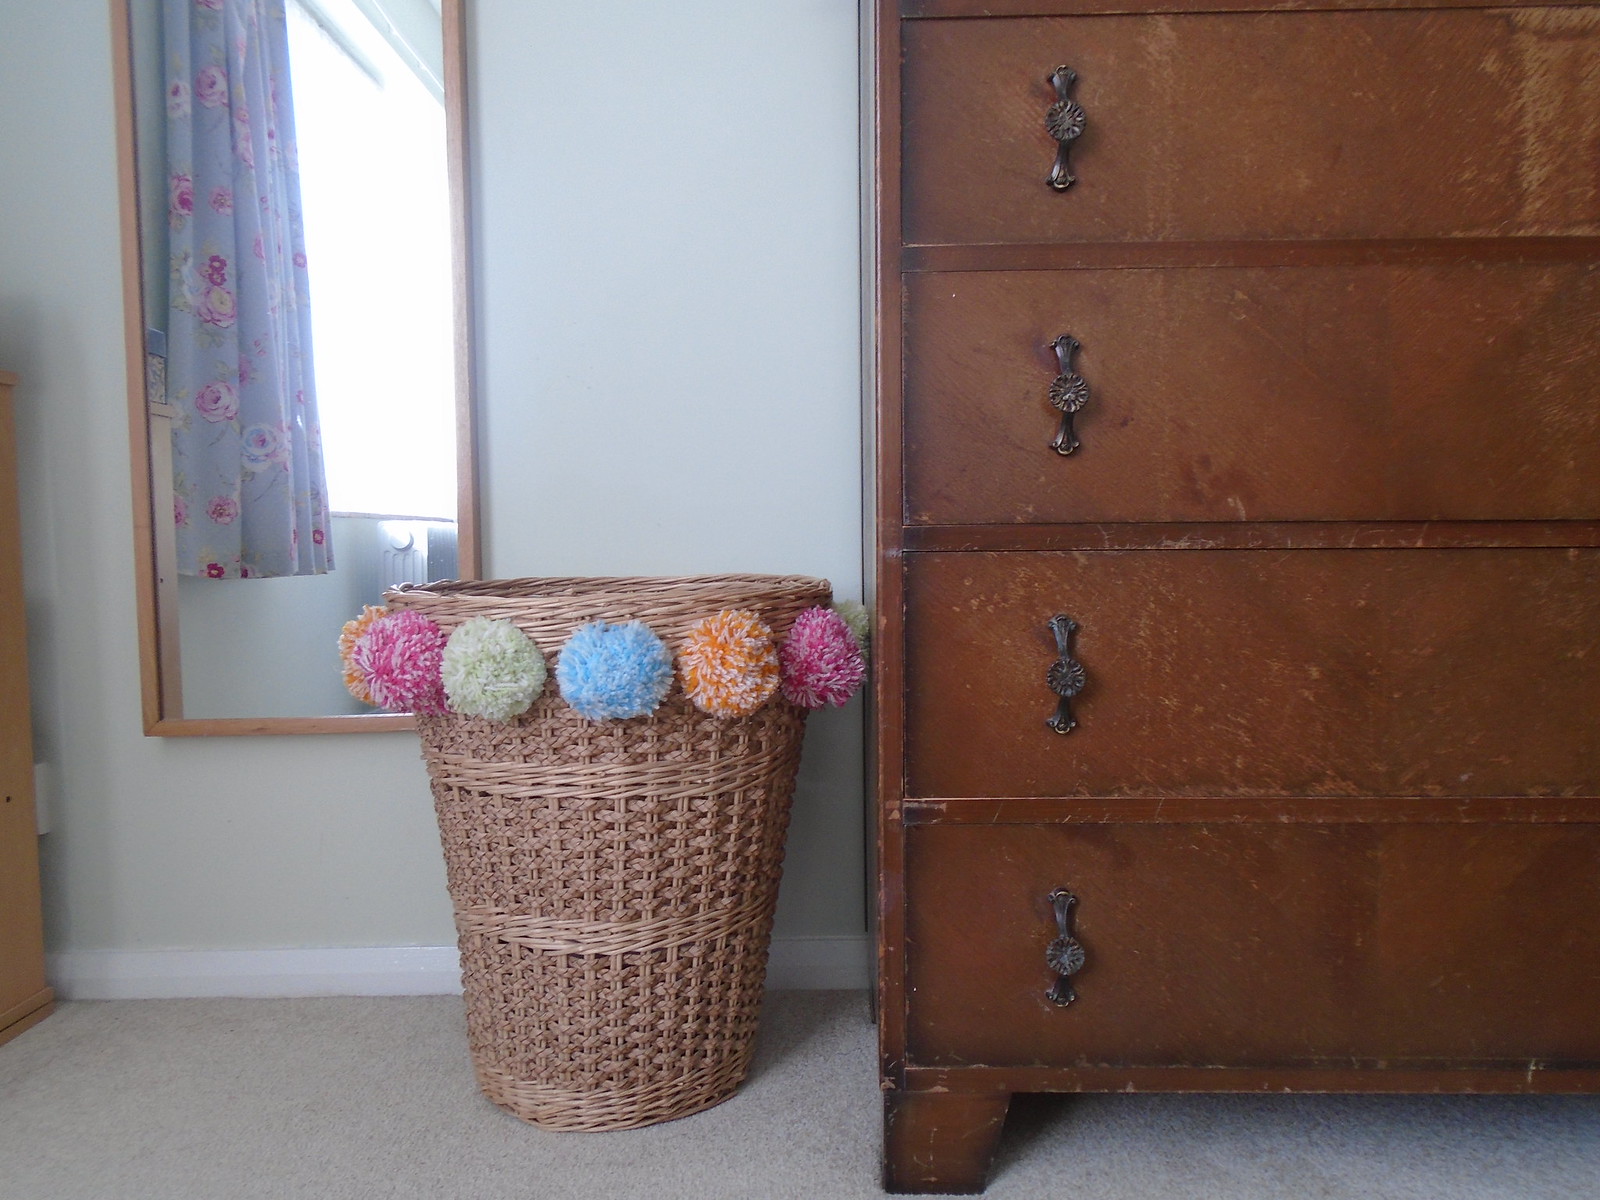
I counted the upright sticks on the basket to work out my spacing and how many pom poms to make. I had 39 sticks so that divided nicely by 3 so decided to space them at every third stick - (I like logical). This meant 13 pom poms, which didn't divide so well between my colour scheme so I currently have a bit of a gap in my pom poms. Rich helpfully pointed out that this side could just face the wall so that's my current solution!
(Much better! Clean mirror too. And laundry done. A happy day!)
My pom poms are a bit more spaced out than Lucy's which wasn't intentional, and I need to go back to trim them a little more evenly I think, but really I am very pleased with my little pom pom basket now. That wasn't such a hard job but look at the transformation my little fluffy puffs made. It has really brightened up this corner of our bedroom too. Although I am not sure how long Rose will resist trying to pull them off... so far she doesn't seem to have noticed (dare I say it?)
Lucy also made tassel baskets, you really should have a look.
Subscribe to:
Posts (Atom)