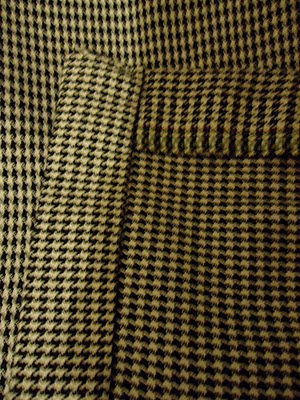
(i have just noticed the terrible shadows and creases! sorry for this!)
The process was a really intereting one and i learnt a lot of good skills along the way.
I started with a version in miniture. this was a really useful exercise as i drew a pattern in quarter size which meant going through the process again to refresh my mind. it was easier the second time (and in small) and it gave me an opportunity to see how my initial idea and pattern adaptation would really work in fabric.
first step - creating the mini toile to see how my idea would work in practice
Once i was happy, i used my block which i had created in the first couple of classes and applied the same manipulation techniques i had tested in miniature to create my real life pattern!
Here is a picture of my pattern pieces. i am quite proud of these. i definitely have plans to use them again, perhaps with some minor adjustments. I had to alter my toile as it was far too big, but didn't do another mock up before making the final piece which meant that my final version ended up still slightly big (it is hard to now how tight would be practical!) i got around this with belt loops so i can wear my skirt on the waist as i intended. I can update my pattern again for next time, although might also try another in a heavier fabric as i know that can sometimes make quite a difference to fit.
a concealed zip which means no stitching on the right side of the fabric - definitely a pleasing result for a first attempt.
We learnt how to sew our hems with no visible stitching on either side - it was quite obvious once we were shown, but i had never known it before
time to up my game
And also i got a Pattern Master!!
for all my pattern drafting needs!
New term, I am ready,
Yours fastened up and finished off,Emilia. xxxx


2 comments:
this looks great emily, just wonderful.
I am keen on the green of the pocket peeking out too.
x
pretty skirt emily. good luck with the next project. x
Post a Comment